
How to Turn Leftover Mash into Potato Bread
Hi Kneaders!
One of the biggest challenges I see others face when feeding their family is turning leftovers into something different so you’re not eating the same thing again. Variety is the spice of life or something, right?
Well, I have a secret for you. I used to despise leftovers…like with every fiber of my being! I don’t like to eat the same thing every day so leftovers were always so unappealing to me. Until…my husband and I started dating and he was the Leftover King! He didn’t waste food. He took home the leftovers at restaurants with the full intention of actually eating them later. What a concept! Well, during those times of financial struggle that young couples tend to face…I started to get creative, real creative…and it started with leftovers.
I started figuring out all kinds of ways to turn last night’s leftovers into a totally new dish today. The following recipe was born out of this creativity!
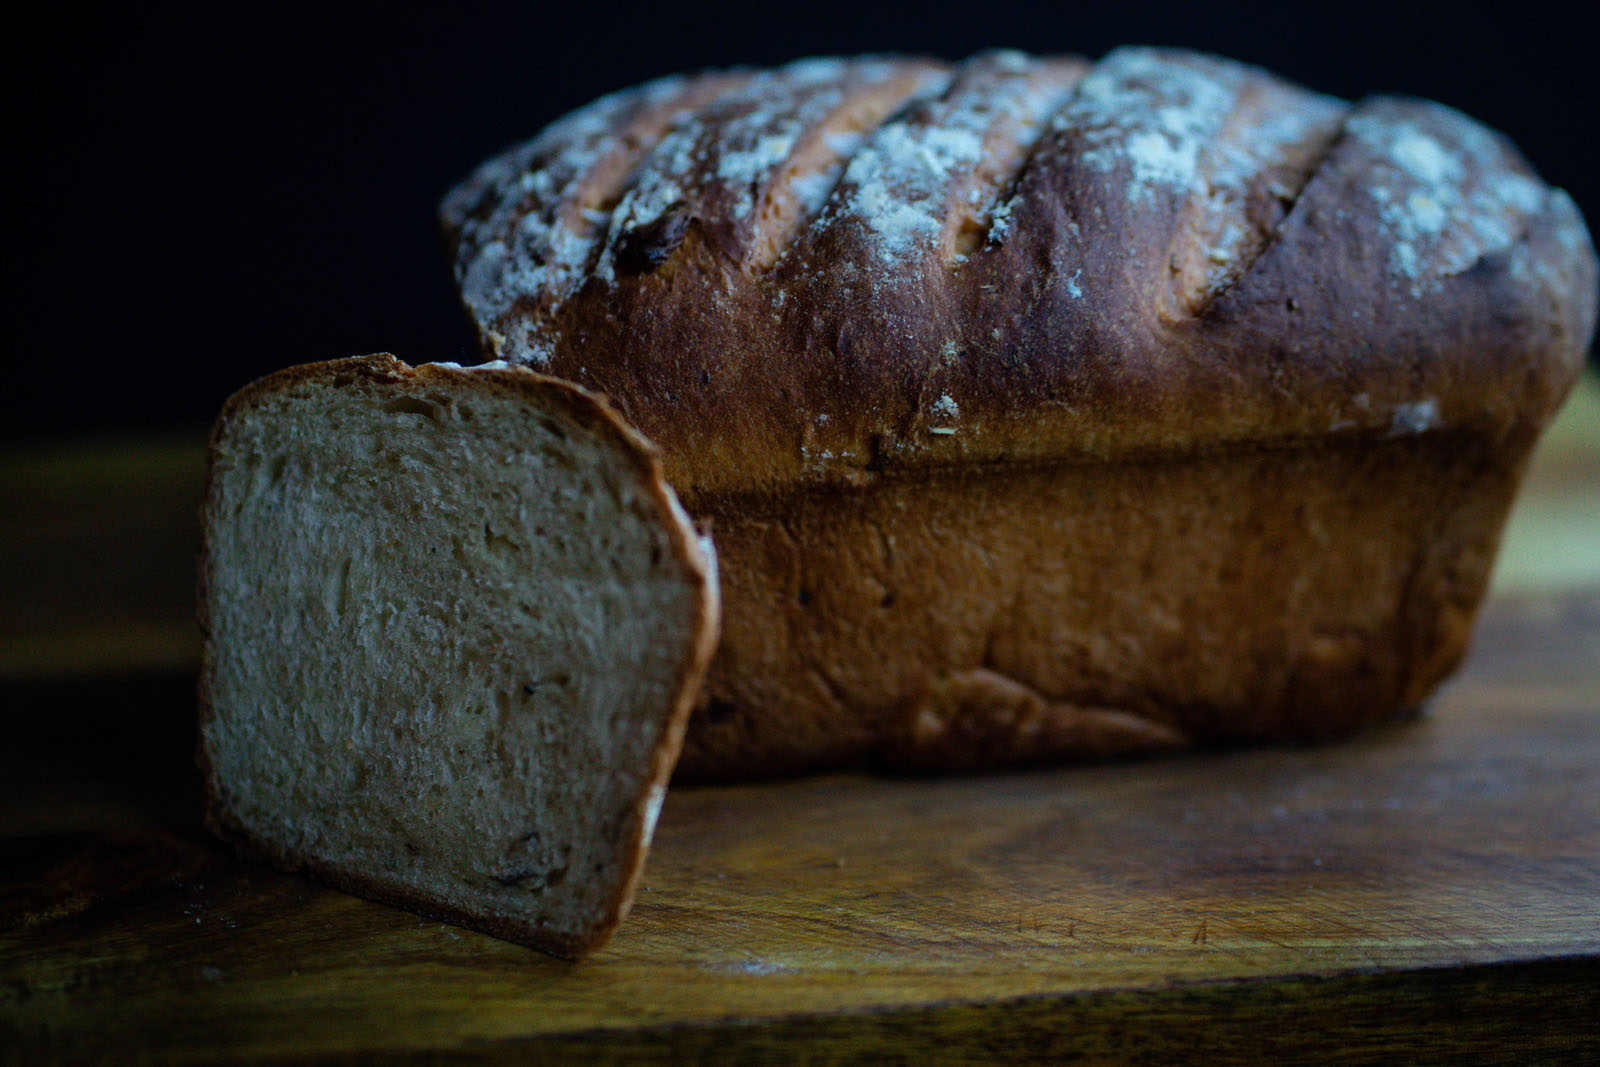
Potato bread is something I’ve made for years and years. Over those years, I’ve developed a recipe that calls for about ½ cup of leftover mashed potatoes (and produces one sandwich loaf). Now, one thing I quickly realized is it really did not matter if my leftover mash was heavily seasoned, had roasted garlic in it or even cheese added to it the night before. It also didn’t seem to matter if I had peeled the potatoes or not. I almost always keep the skin on when I make mashed potatoes and the pieces just sort of shrivel up and dissolve, so it still works totally fine! Every single time, those leftovers yielded an incredible loaf of potato bread! Fluffy, perfectly soft with a nice deep brown crust and bursting with flavor! It’s kind of like magic…
Since I would typically save a cup (or more) of mash, I tried to create other ways to use it all up. One day, I rolled up some of the leftover mash into balls, froze them, dredged them in your typical egg, flour & bread crumbs method and then fried them….And that’s the day my husband told me he loved me. Haha…just kidding (I had him hooked well before then). Ahem, I digress…Needless to say, they turned out phenomenal.
This became one of my favorite things to do. I would intentionally make extra mashed potatoes so I could use the leftovers to make a loaf of bread and a batch of Potato Nuggets! Check out the recipe for those here.

You could also skip the Potato Nuggets altogether and just make two loaves of potato bread or just make a huge batch of potato nuggets and skip the bread! Either way, I hope you enjoy these kick-ass ideas for leftover mashed potatoes, from my kitchen to yours!
How do I make Potato Bread?
Making Potato Bread is pretty easy and doesn’t require a bunch of previous breadmaking experience! This recipe is very forgiving and as I mentioned above, you need not worry about your mash having the skin in it or being heavily seasoned. Somehow, it just works. Every. dang. time. Don’t take my word for it. Get your hands dirty and make some bread. It is truly so rewarding!
First things first, we’re going to combine a few ingredients in a stand mixer or a big glass bowl. You can definitely make this recipe by hand, with a big glass bowl and a wooden spoon, and I encourage you to do so in order to get the true feel of breadmaking. But, I promise, I won’t judge you if you want to use your stand mixer. Before we get into the first steps, we need to discuss yeast because the type you use dictates whether or not you need to activate it first.
I have a super helpful breakdown of all the different types of yeast under my Bread FAQ
A quick overview is that there are two types of yeast used for baking; Active Dry and Instant. I pretty much exclusively use Instant yeast because it does not require any “activation” before using it. Instant yeast can be added right into your flour with the other dry ingredients (like sugar and baking powder/soda or spices).
Active Dry yeast, however, needs to be activated before use. Essentially, you need to wake up your yeast bacteria…they are living organisms after all. It seems counterintuitive that the one with active in the dang name is the one that requires activation…but you know…I didn’t name the thing. Anyhow, as long as you understand the difference, you’re good to go. Active Dry needs 5-10 min in a warm liquid to activate and Instant doesn’t need the liquid step and can be used straight into the flour.

So, how do you activate Active Dry yeast? Very simply. You just need to combine it with lukewarm water – think bathwater for a baby – not too hot (or you’ll kill the yeast!) and a little bit of sugar or honey. The sugar is what the yeast will feed on when they wake up from their slumber and will help produce a bunch of bubbles (gas) that will show you it’s activated and ready to go. This typically takes about 5 minutes, maybe 10. You will know it’s ready because it will become thick and foamy on top and it will smell strongly of bread!
Keep in mind that yeast are very sensitive to temperature. If the water is too hot, you’ll kill the yeast and if it’s too cold, you’ll kill the yeast. The best temperature is around 100-110F, which is slightly warmer than your body temperature so always test the water first before adding the yeast.
If you are using Active Dry yeast, combine it with lukewarm water into a large bowl or standing mixer along with your sugar, oil and egg. Give this a slight mix and let it sit for a few minutes to activate.
*Skip this step if you are using Instant yeast! You can combine ALL of your ingredients at once if you’re using Instant*
Next, add your leftover mashed potatoes, salt and flour. Adding the salt at this stage is important because salt directly in contact with yeast can actually kill it! Always start with less flour than the recipe calls for as the temperature and environment in your home can affect your dough. You may need a little more flour or a little less than the recipe states.
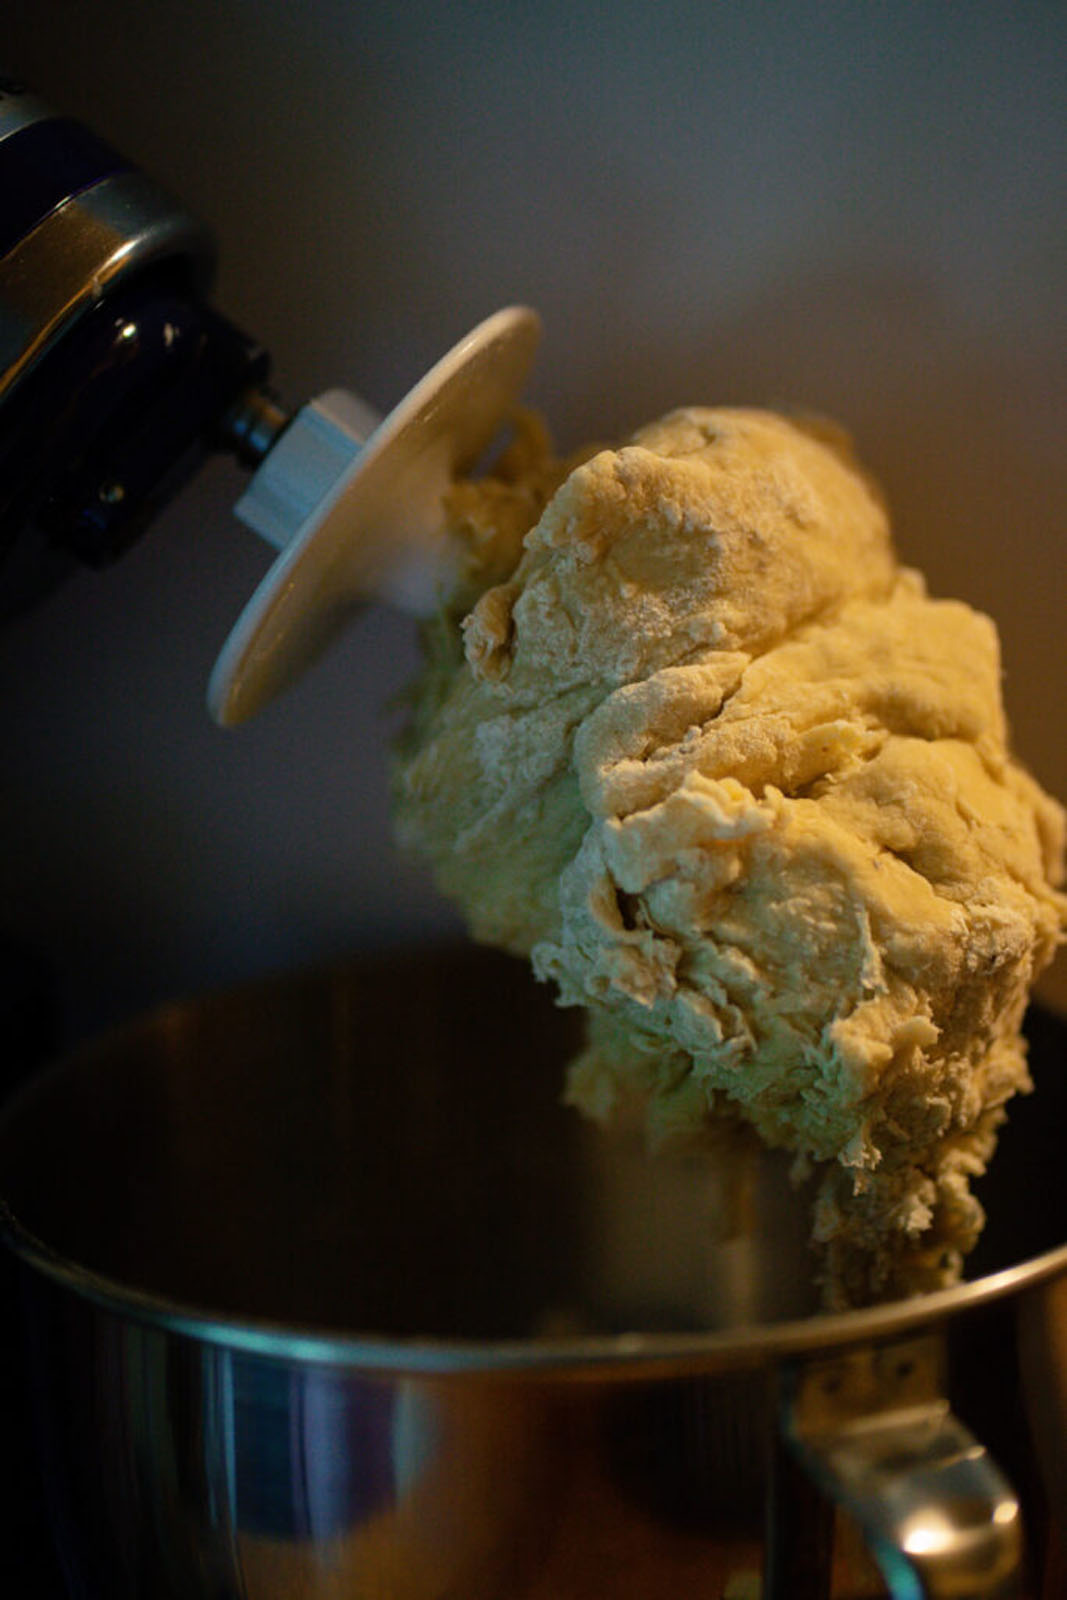
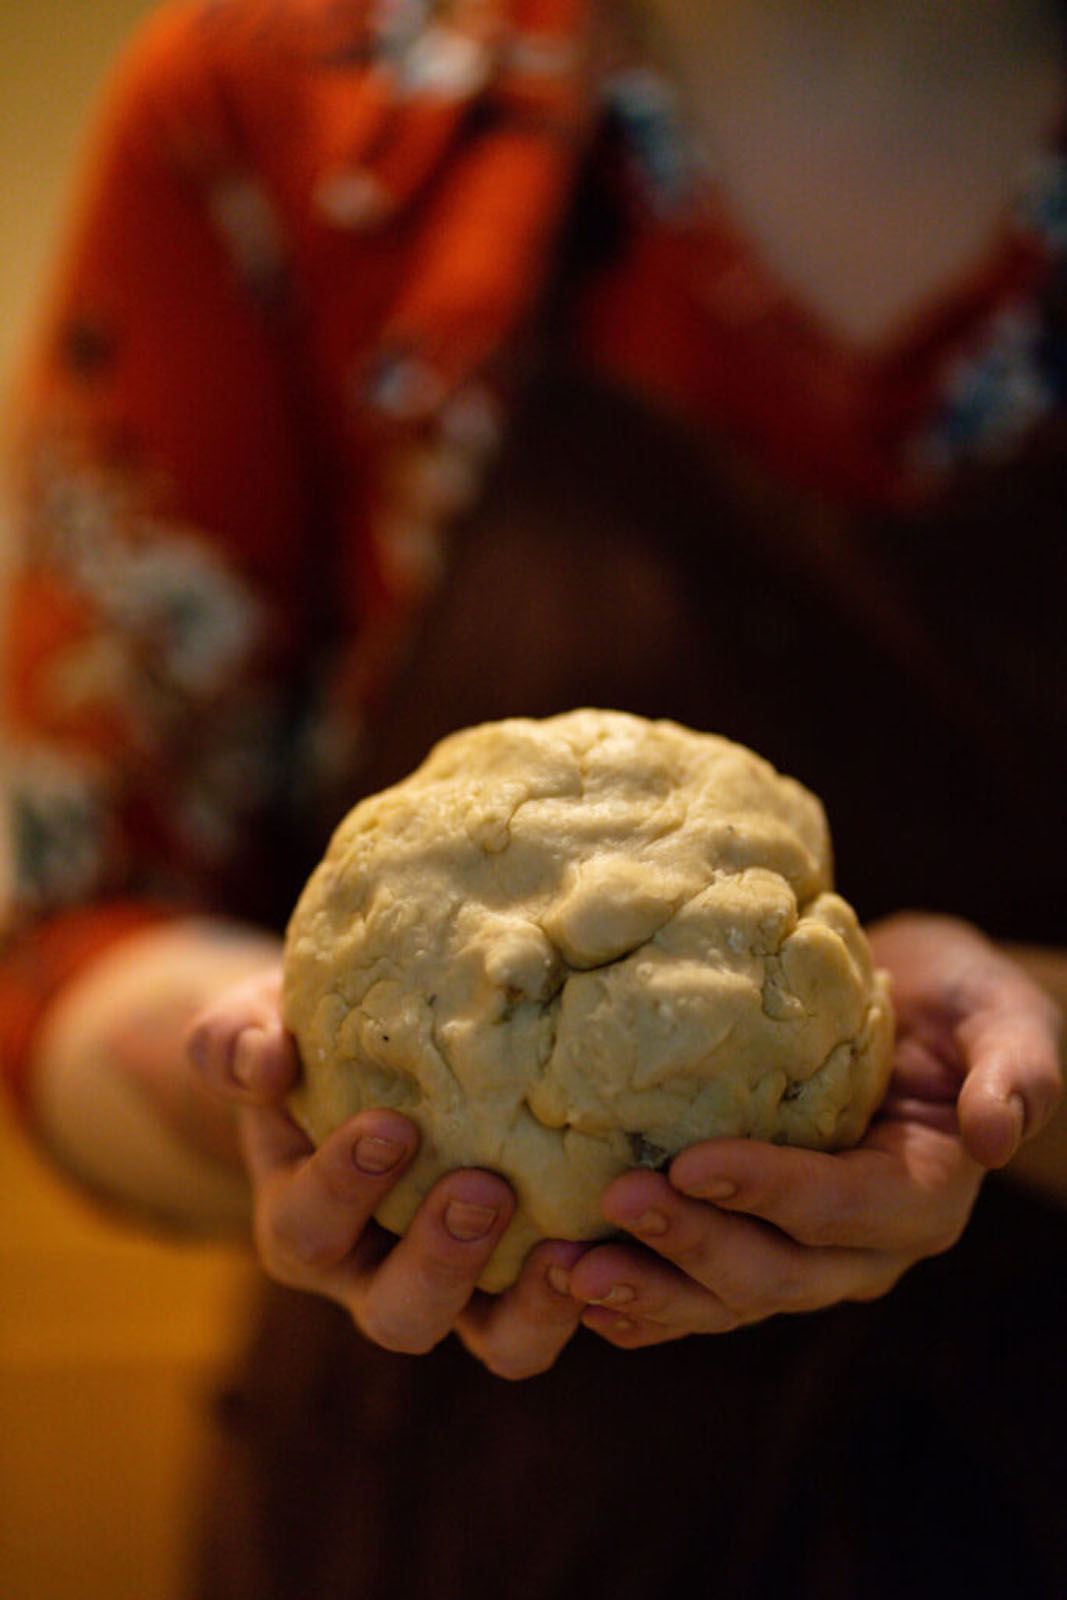
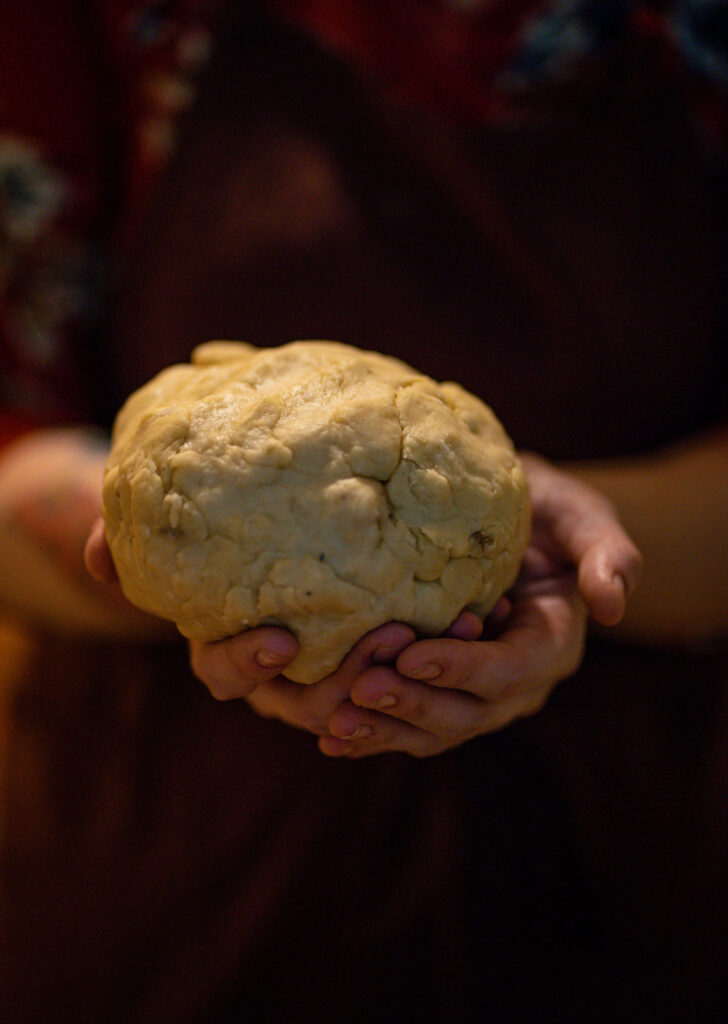
Knead this mixture for 5 minutes in your stand mixer with the dough hook attachment or 10 minutes by hand. The result should be a supple and homogenous ball of dough.
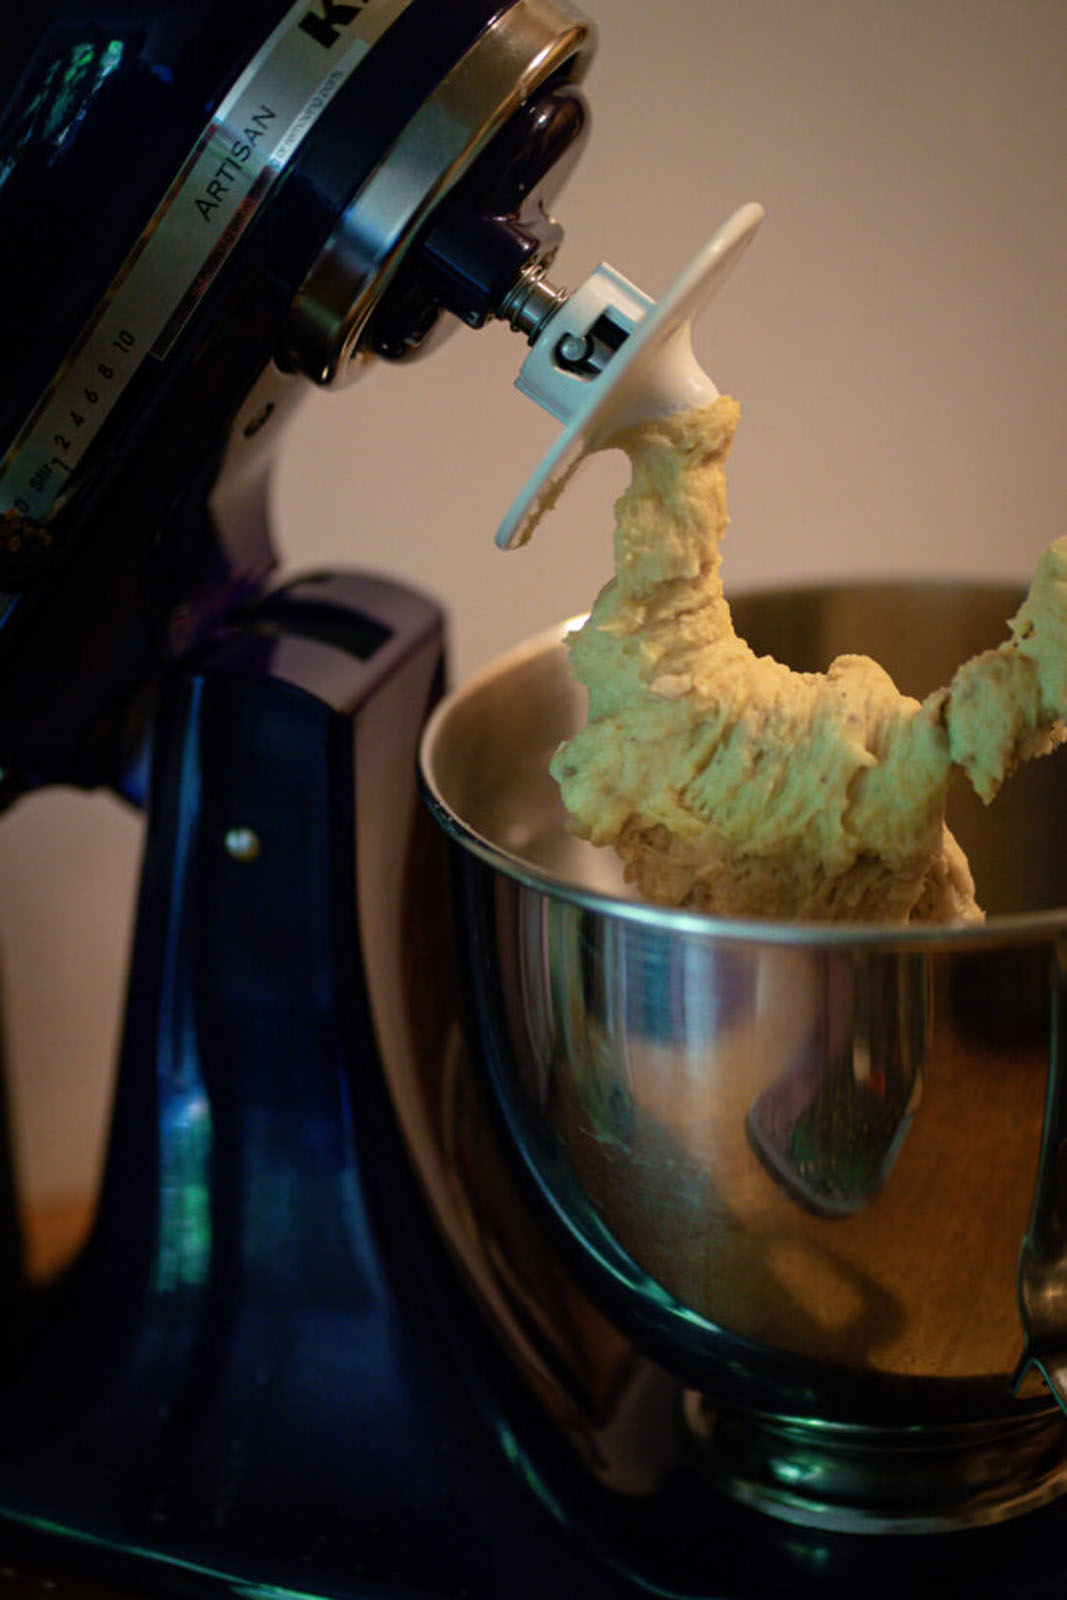
Here’s a good look at how the texture of the dough changes as you continue to work the dough by kneading! Pretty fascinating stuff!
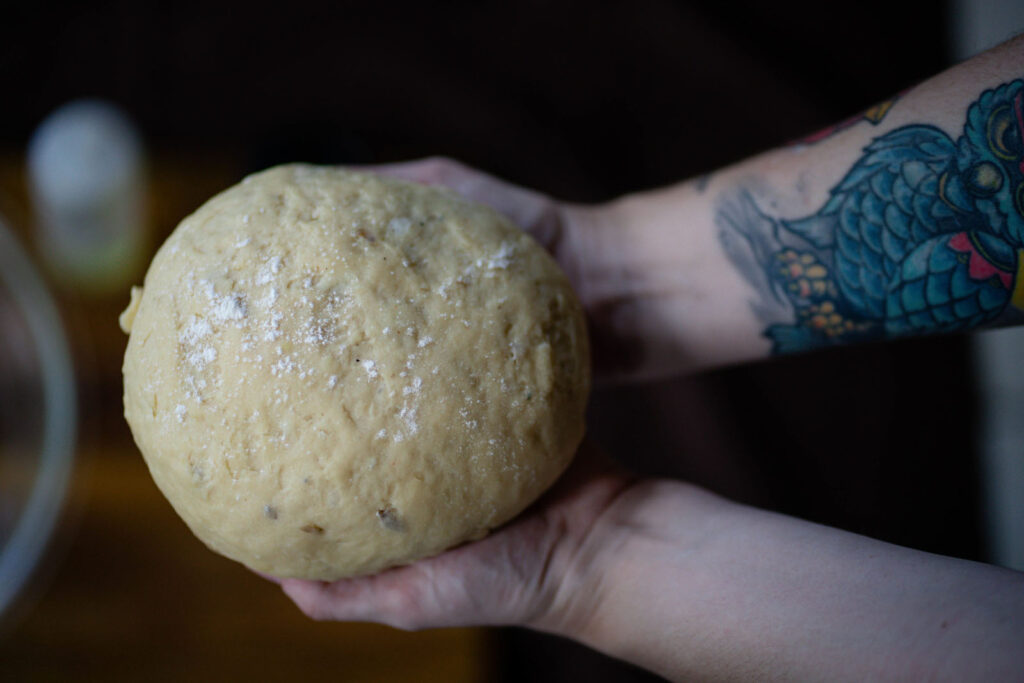
See how the texture is changing as the gluten structure develops in the dough? It’ll continue to get more supple and homogenous.
Keep going! We’re almost there! It’s getting smoother and easier to work with…
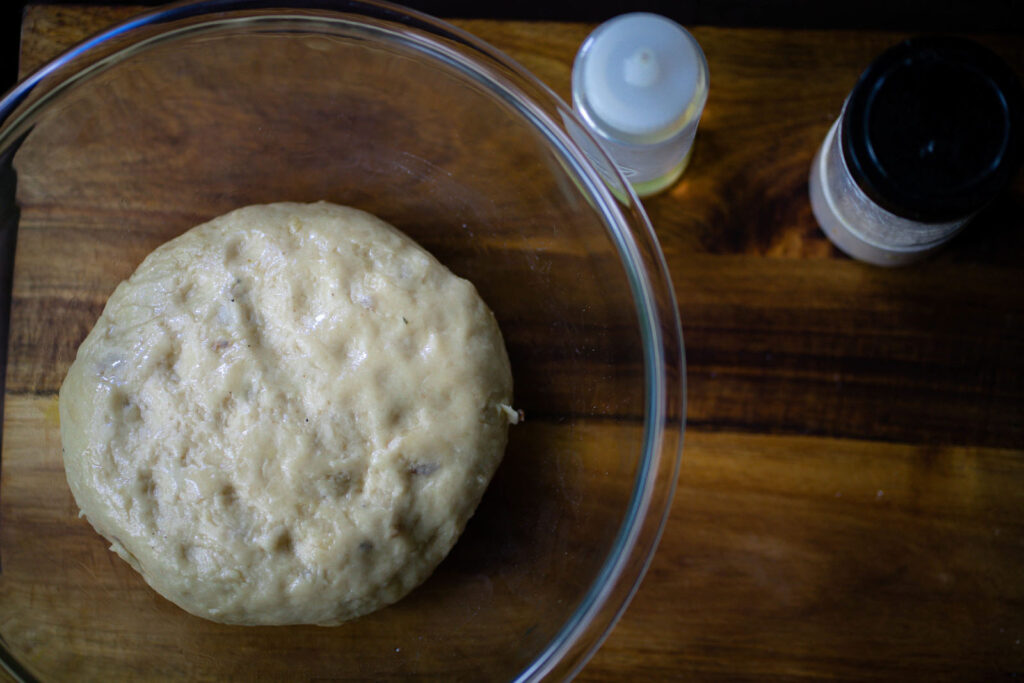
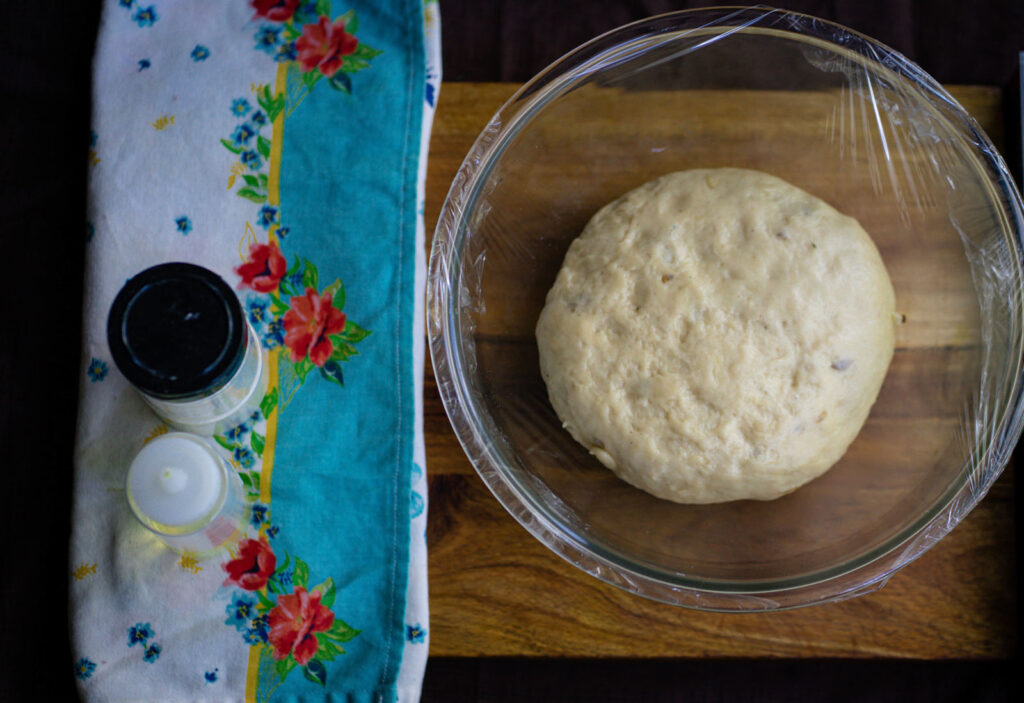
Grease the same glass bowl you used with a neutral-flavored oil (think vegetable, avocado, canola) and plop your dough ball right into it. Flip it over a couple of times and ensure the entire thing has a light coating of oil. Then, cover with plastic wrap and/or a lint-free kitchen towel (I do both because I’m extra).
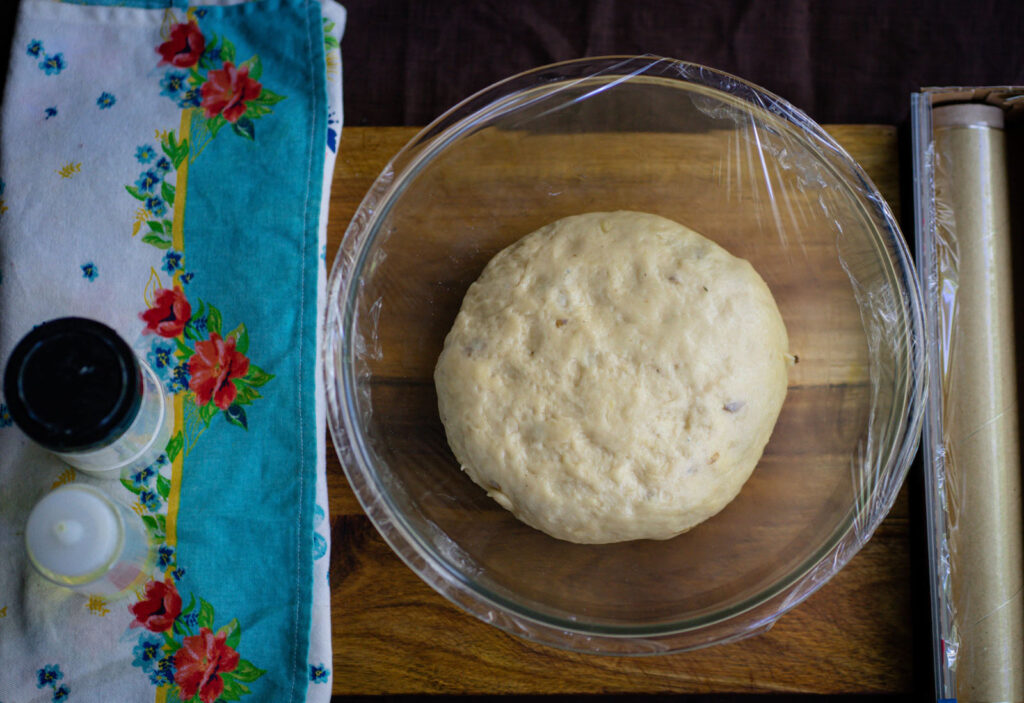

Allow your dough to rise until has doubled in size. The time this takes will vary depending on the temperature of your home and the environment where you live. For example, where I live in South Florida, this step takes 30 to 45 minutes. In your area, it may take up to a couple of hours. Just keep an eye on it!
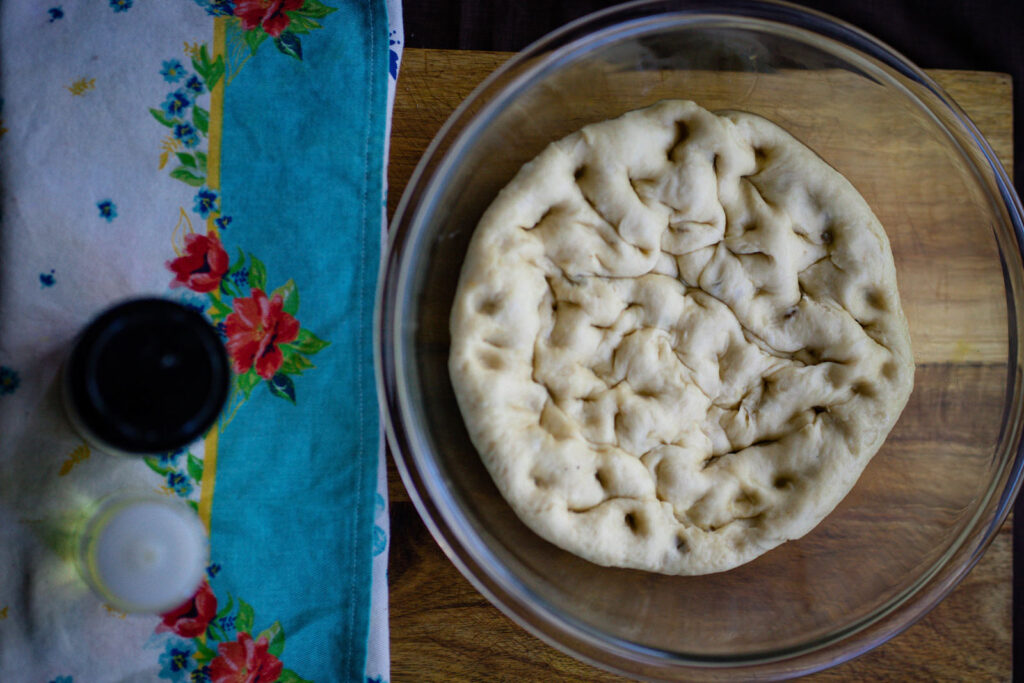
After it’s doubled in size (see how big and fluffy it is now?), you’ll want to punch it down to get the air out! Yeah, I said punch! Ball up your fist and use your knuckles to punch the air out of the dough. It should deflate and then you can move onto shaping.
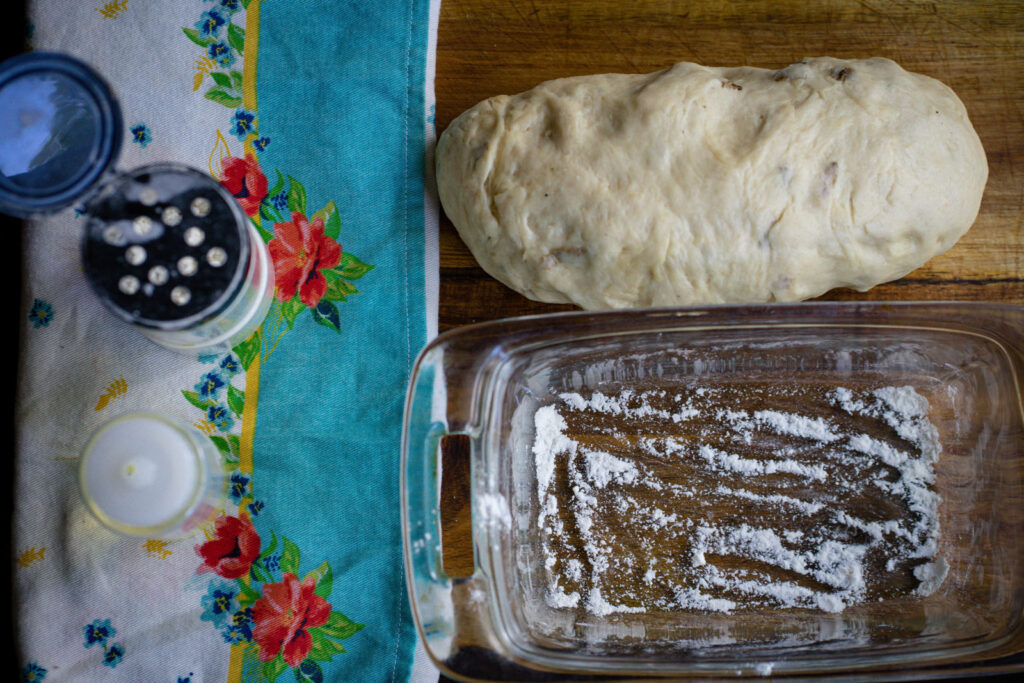
Then, shape your loaf before it goes into the pan! I like to use a typical rectangle 9 x 5 loaf pan for this. Shape your dough roughly into a long rectangle and use your pan as a guide to make sure it fits!
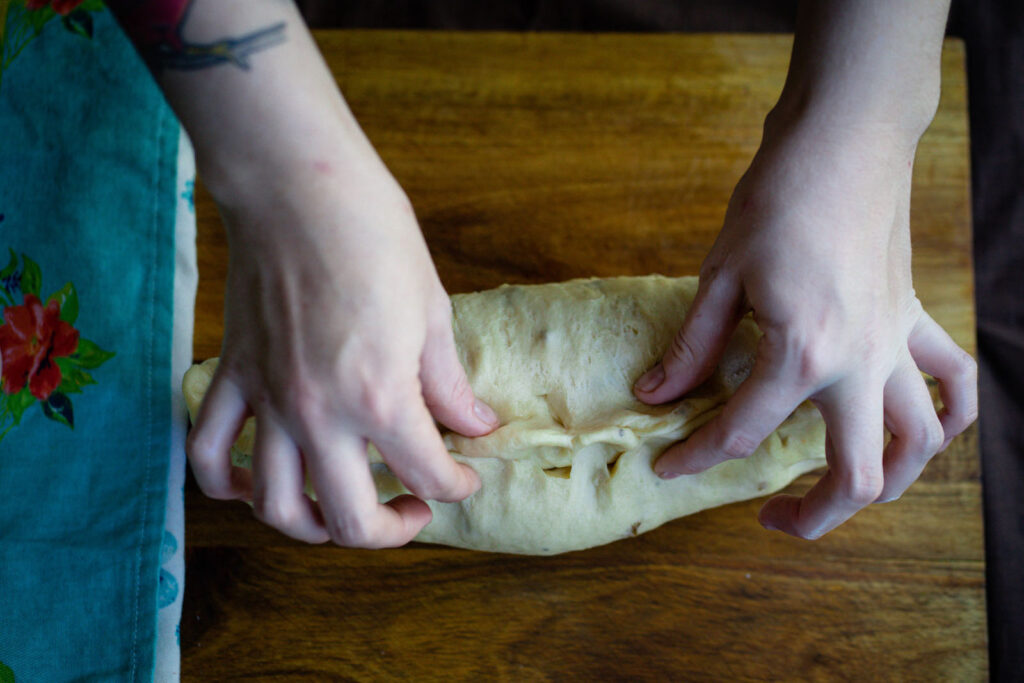
After you have your rough rectangular/log shape, turn it over and start creating a seal along the bottom. This will help the bread keep a tight structure as it rises so there won’t be any large holes or pockets of air inside. For some types of bread – like sourdough – you want those air pockets. But, in your more common sandwich loaves like this one, you don’t!
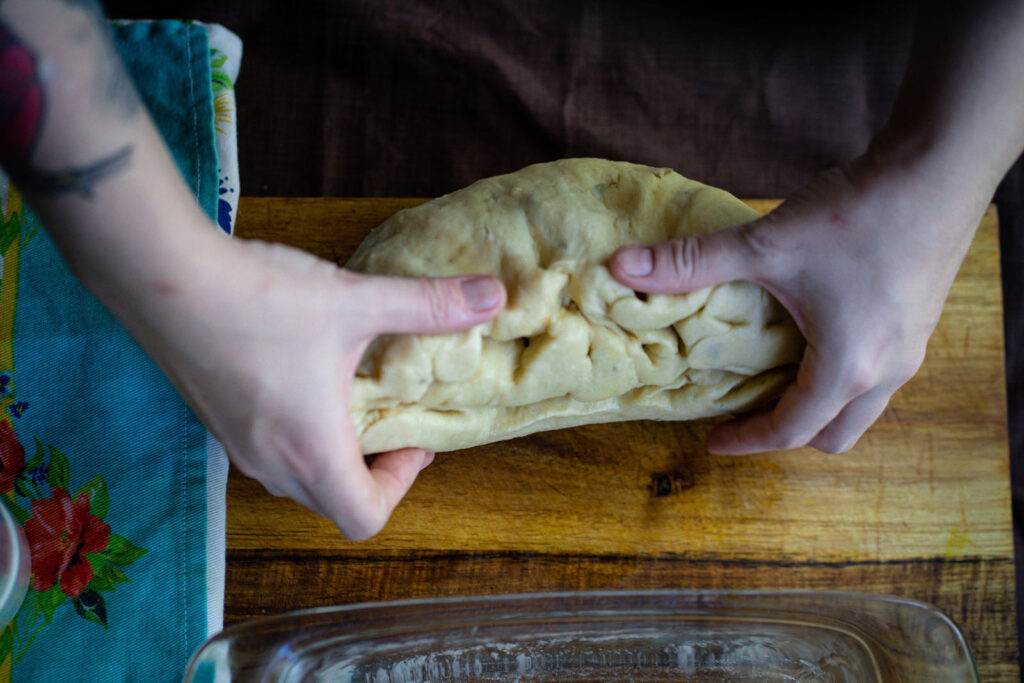
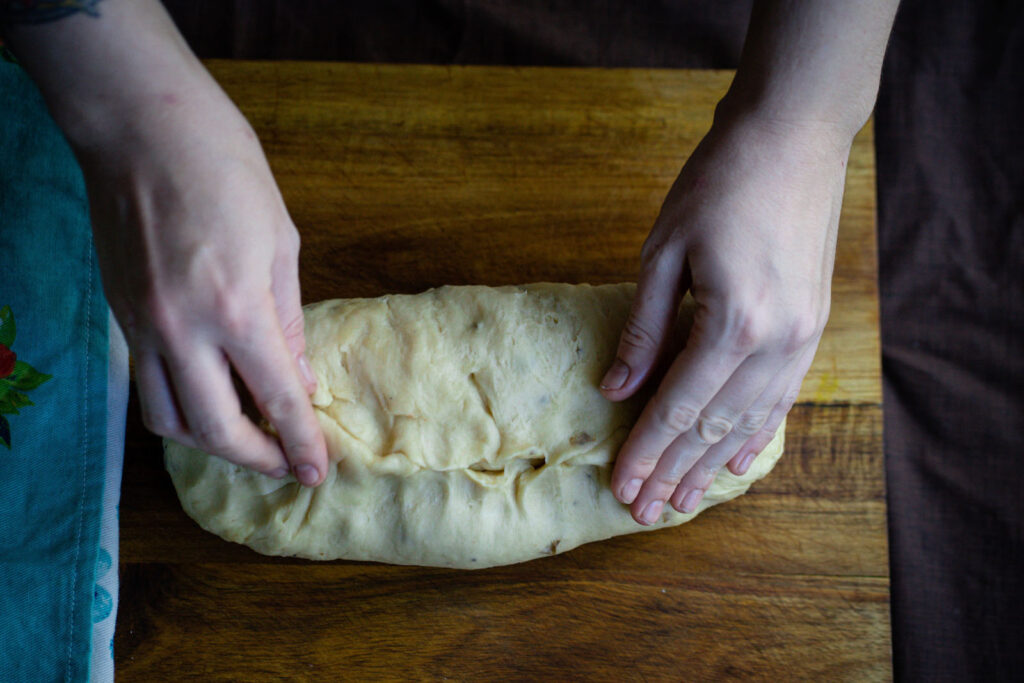
Gather the dough along the bottom and then pinch it closed to create a nice seal.
As you’re pinching and creating your bottom seal, use cupped hands to ensure either end is uniform.
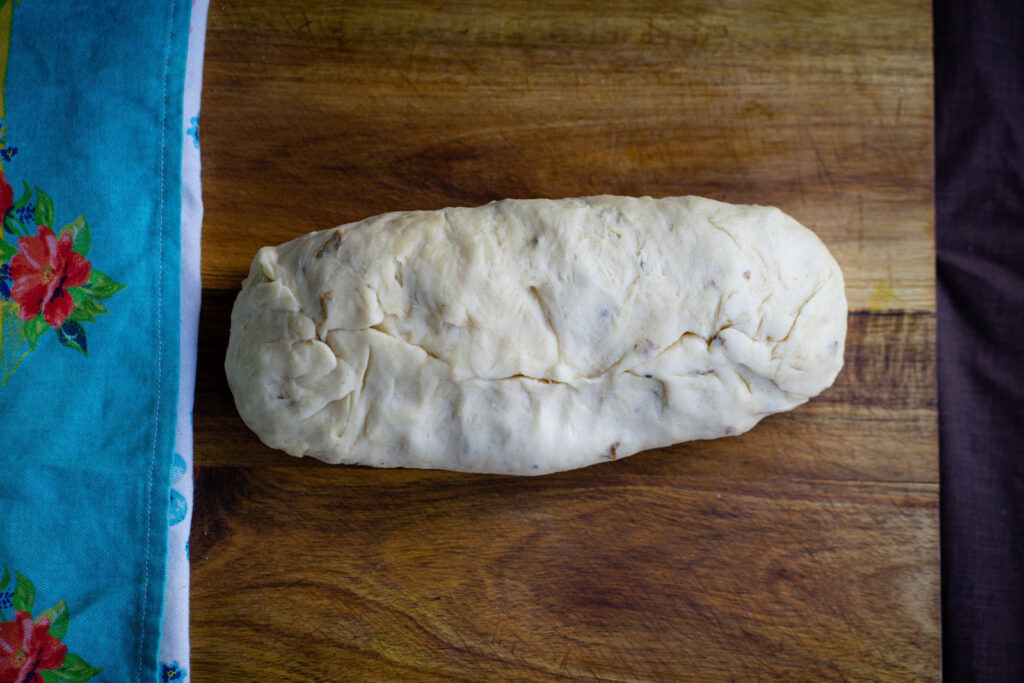
And, here’s what it should look like! A rough long rectangle shape with a nice pinched seal at the bottom.
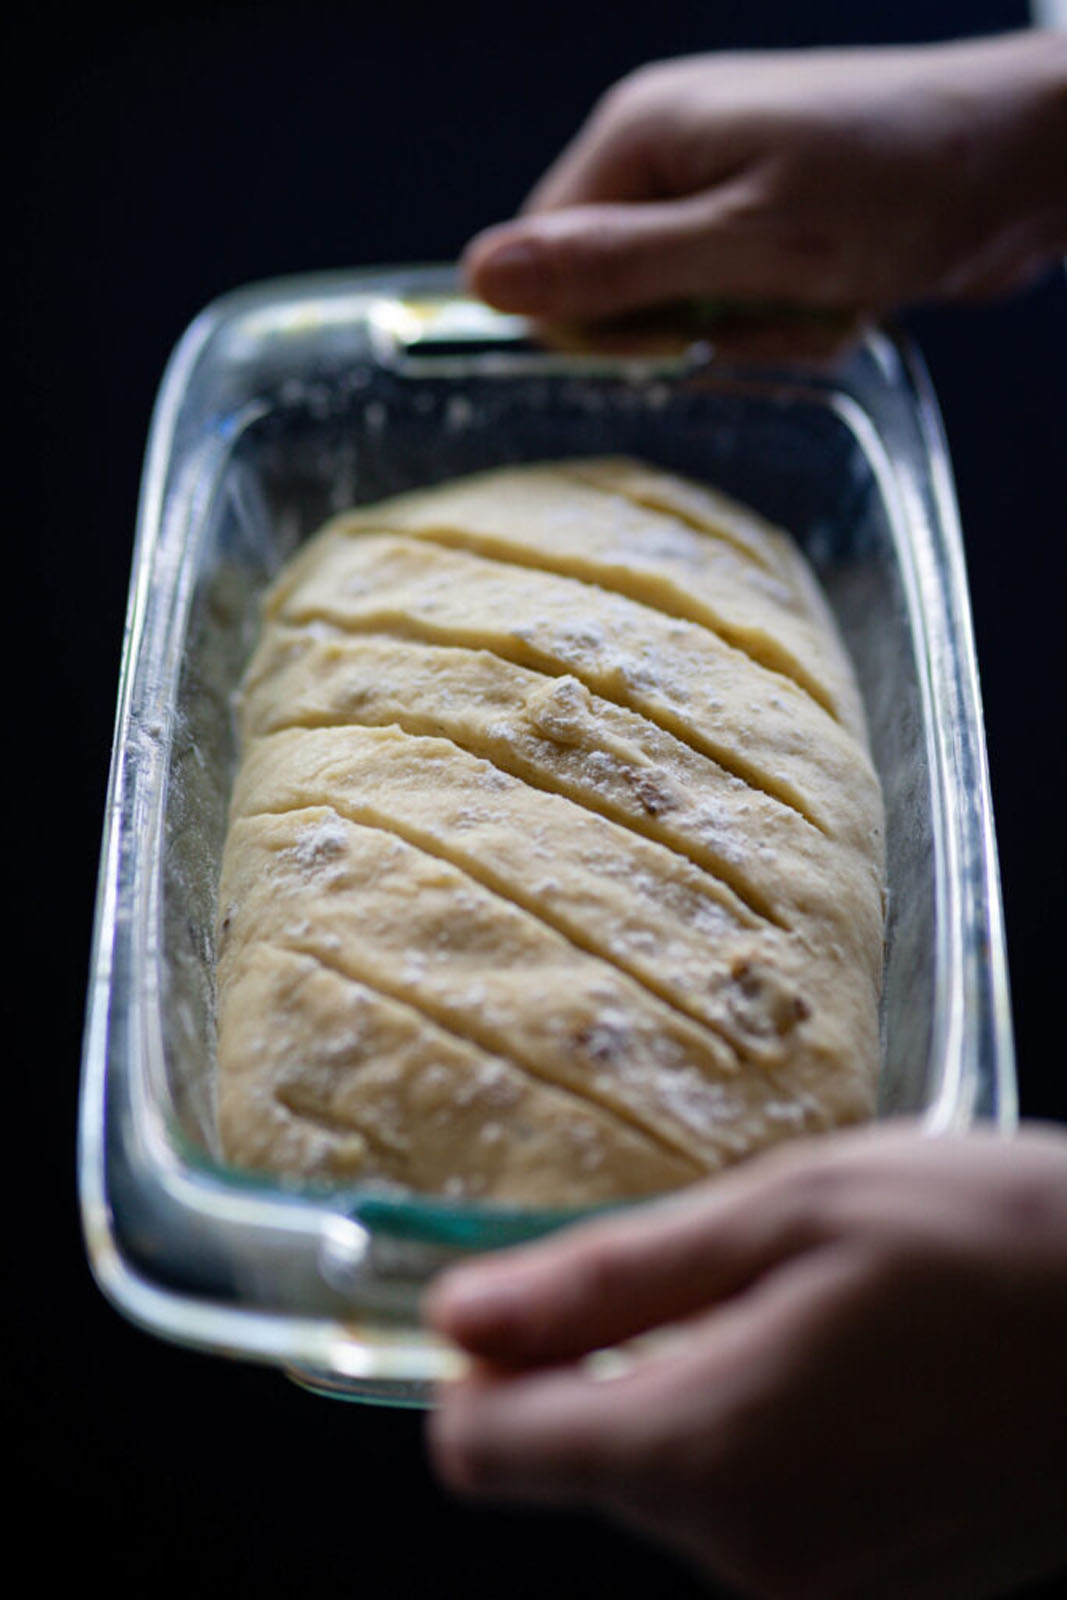
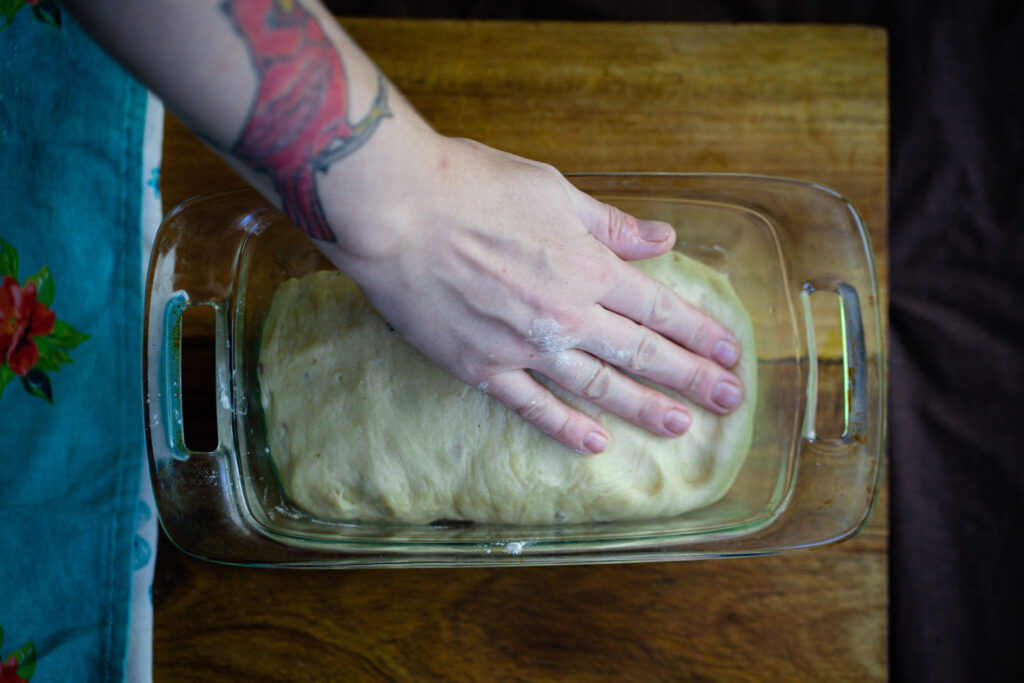
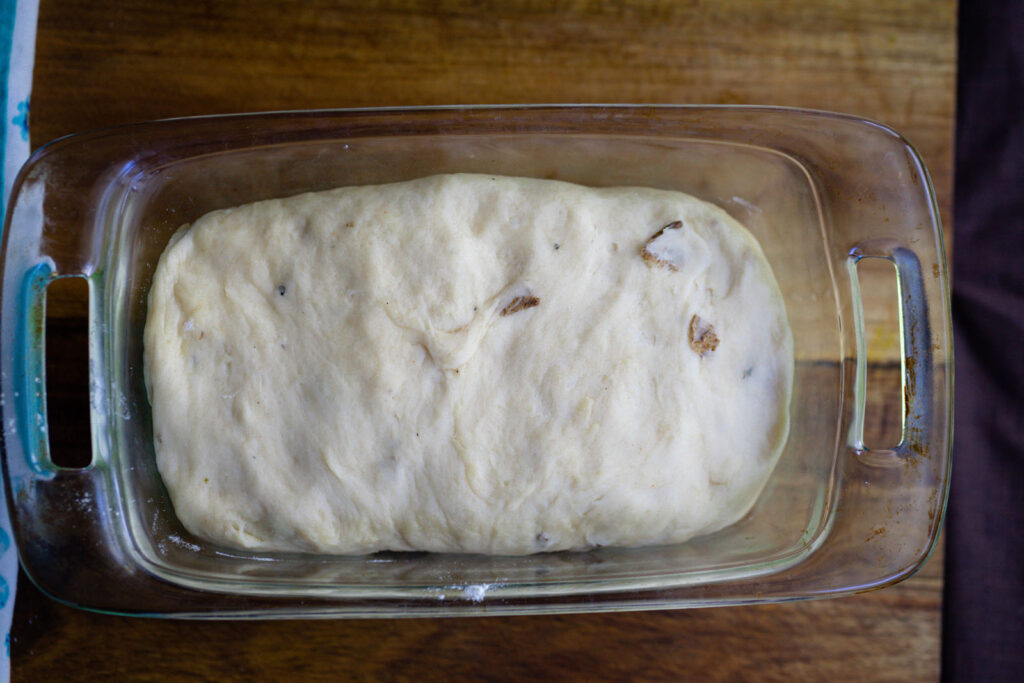
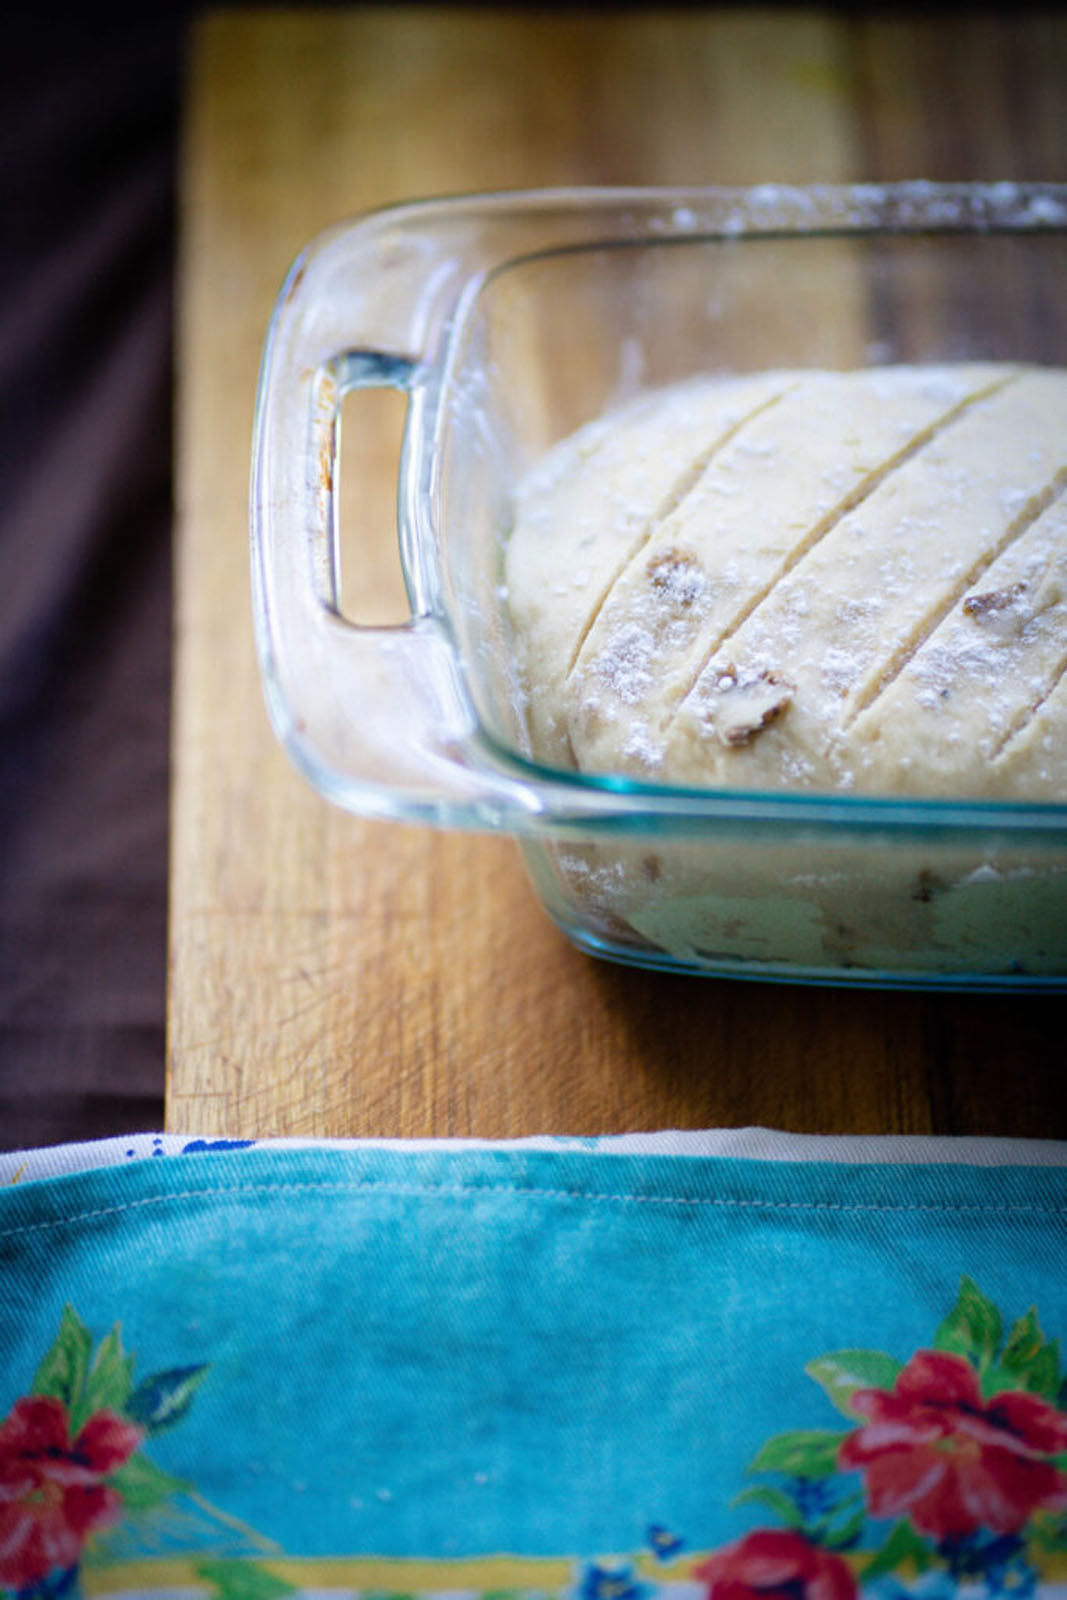
Now that you got your shape sorted out, plop it into a greased loaf pan. Here I’m using a slightly larger than normal loaf pan so I gently press down to get the dough to touch the edges.
Now that I got the dough pressed down to fit snug in the loaf pan, we can work on scoring AKA slashing the top. This not only makes it look gorgeous but helps it rise and bake up beautifully!
Next, give it a nice score straight down the middle OR a few diagonal slashes. You may do this with a clean razor blade (be very careful!) or a good sharp knife. I’m using a Bread Lame here, which is just a curved double-edged razor with a handle that is specifically designed to score bread! If you are an avid bread baker (or in the process of becoming one,) I highly recommend grabbing one of these. They’re inexpensive and incredibly useful! You can find the one I use linked in my Amazon Store here
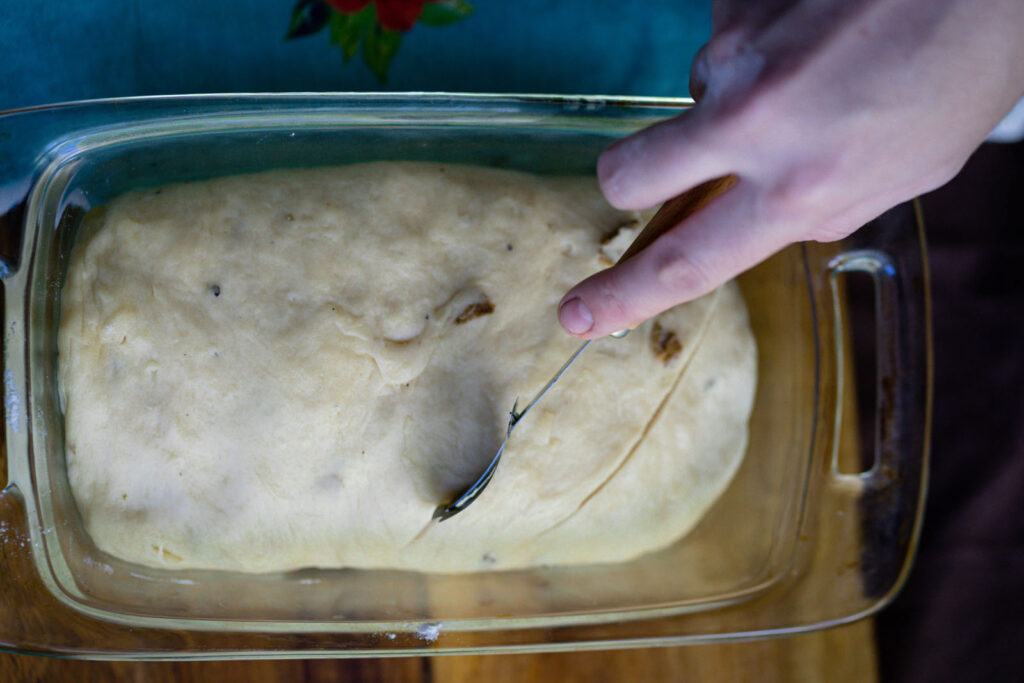
I like to slice on the diagonal! See the little bits of potato skin present in the dough? Well, once it bakes, they will basically disintegrate and add even more flavor (and nutrients) to the final loaf so don’t be afraid to use skin-on mash for this recipe!
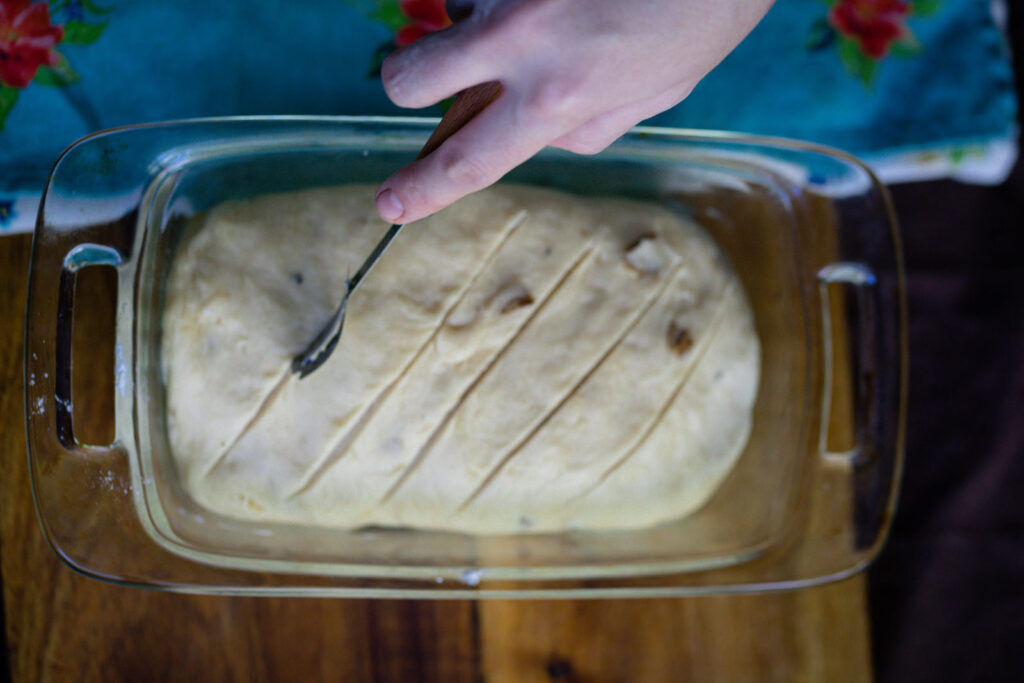
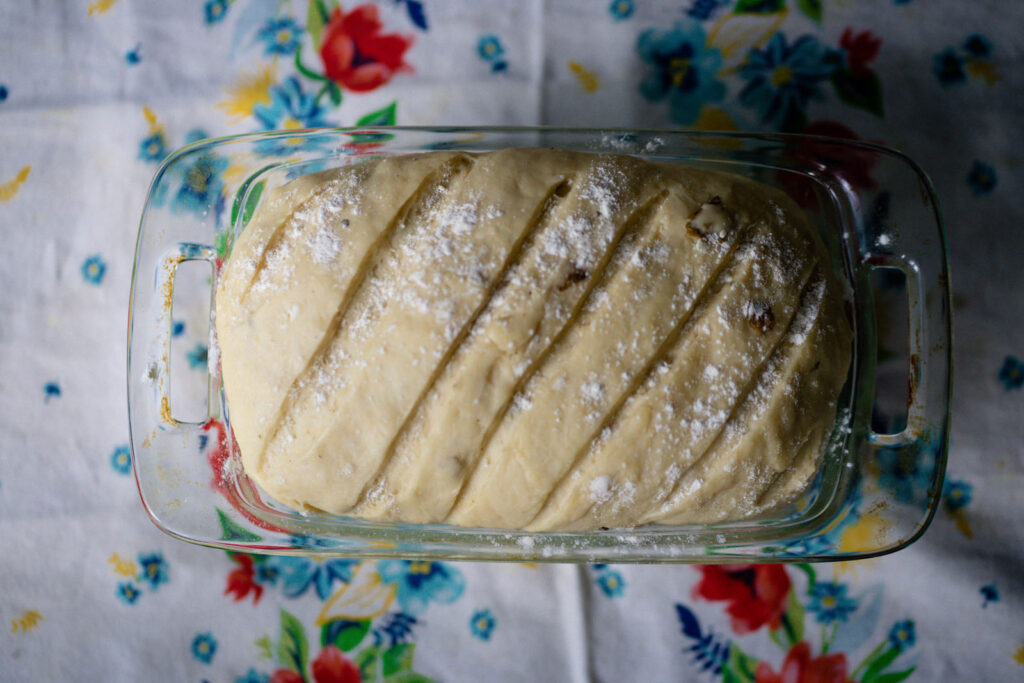
Isn’t it so purdy once it’s scored? It really does make a difference. After all, we eat with our eyes first, right?
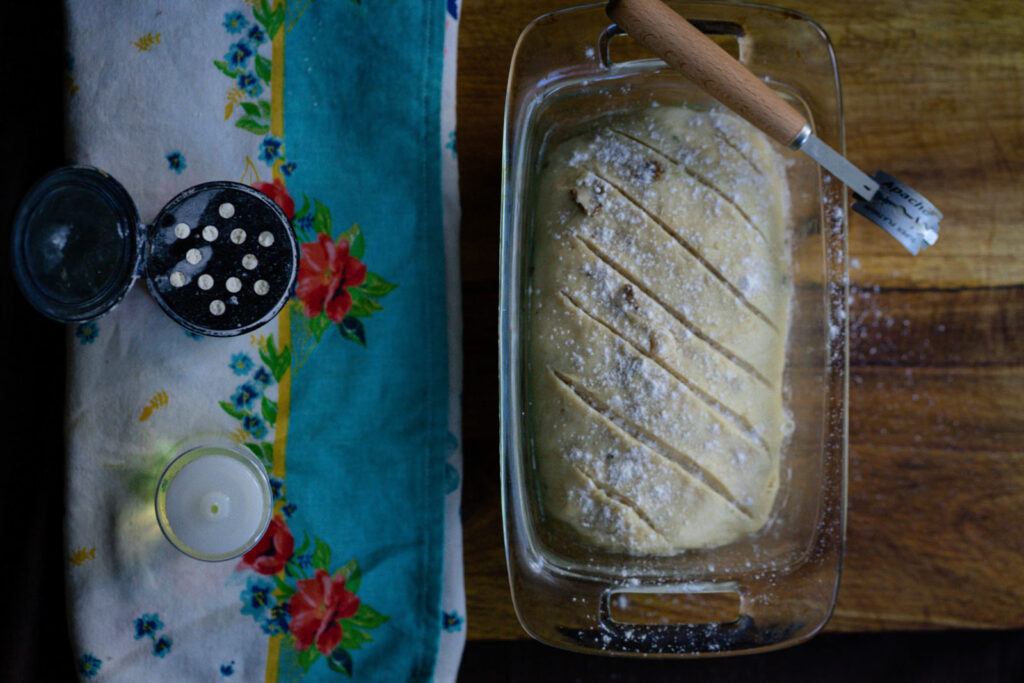
I like to dust a little extra flour on top before I let it rise in the loaf pan.
Allow your dough to rise (also called proofing) in the loaf pan until it has risen to the top.
Since I was using a Pyrex pan, which causes the dough to rise a lot quicker, I just ever-so-slightly over-proofed this. Which is to say, I let it rise for 5 or so minutes too long. It was no big deal, it just gave me a much taller loaf once it baked up in the oven!
But, keep in mind, you’ll want your dough to come just up to the edge, not quite over it – if that makes sense!
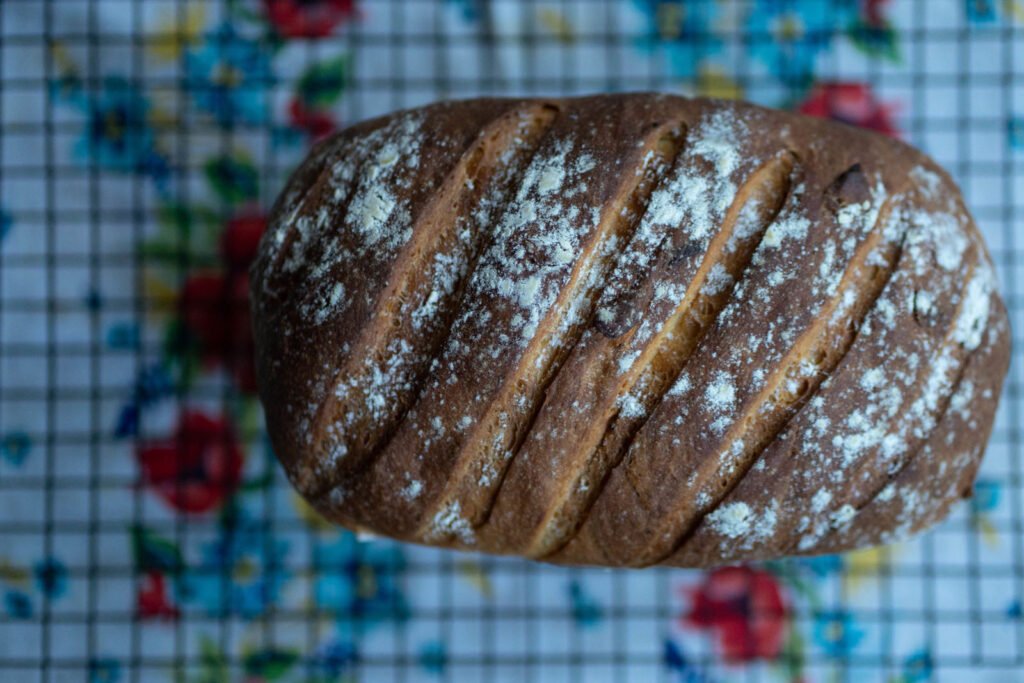
Next, we bake! Bake this bad boy up for anywhere from 45 to 65 minutes. It really depends on your oven. But, you’ll want the top to be nice and dark golden brown. If you knock on it, it should sound hollow! That’s how you know it’s ready. So, keep an eye on it!
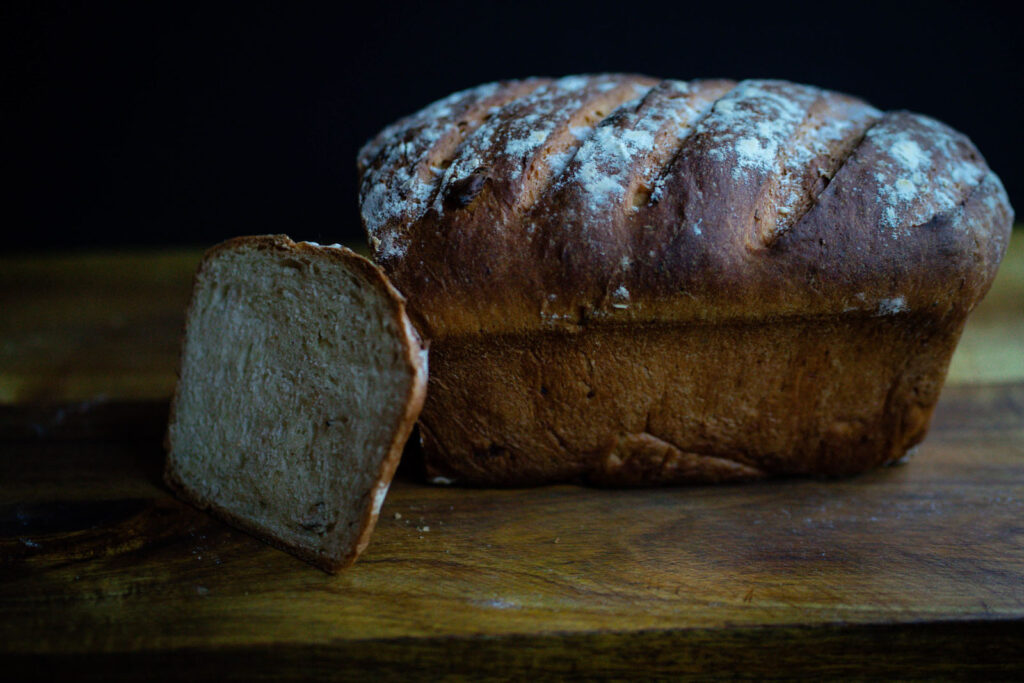
As tempting as this is to cut into while warm, I must insist that you let it cool! Your crumb (texture) will not be the same if you allow all of the steam to escape rapidly, which is what happens. I’ll go into more detail about this below. But, trust me, you did not just put all the work in to ruin your loaf at the last minute.
Why does it need to cool completely before slicing?
I know what you’re thinking… “I’ve eaten warm bread plenty of times and it’s fine!” … “It makes no difference!” … “How much could it REALLY change the texture?” and “What are you, crazy?! Warm bread is basically one of the greatest things life has to offer. How dare you tell me to wait for it to cool, you savage?!”
Those are pretty much all the things I hear when I tell people they have to wait for their loaves to cool before slicing into it. But, hear me out! Have you ever heard Chefs say you need to allow red meat (like steak) to rest after cooking so that the juices stay inside and don’t escape? This keeps the meat as juicy as possible and makes a massive difference in the final product. Anyone who has tried this can confirm it makes the steak WAY better.
Well, it’s basically the same thing with bread except it’s steam we’re worried about escaping! All the steam trapped inside of your bread loaf, if allowed to cool completely, will disperse evenly at its own pace. But, if we slice into it while it’s still warm, we give that steam an escape route, where it will rush out and then leave behind “wet” spots. It can end up feeling mushy and almost undercooked in certain spots (usually deep in the middle). It pretty much ruins the loaf (in my opinion) but there are plenty of home bakers out there that don’t mind and need to get bread on the table fast for their kids, which I totally get. But, if you want it to be the absolute best it can be, please just let it cool!
How do I store Potato Bread?
The best way to store your homemade Potato Bread is in the freezer! I slice it up once it’s cooled, wrap it in foil and place in a freezer bag (you can also use beeswax wrap, which I do often). Whenever you need fresh bread, pull out a slice (or the whole loaf) and allow to thaw on the counter for a few minutes. You can also toast it directly from frozen!
If you think you’ll consume it in just a day or two, you may store it in the fridge but I always opt for the freezer just in case because it’s just so easy and ensures maximum freshness.
How to Turn Leftover Mash into Potato Bread!
Ingredients
- 2 tsp. yeast Instant or Active Dry
- 1/4 cup cane sugar
- 3/4 cup filtered water Lukewarm, ~110F
- 6 Tbsp. neutral oil Vegetable, Avocado, Canola, etc.
- 1 1/2 tsp. kosher salt reduce to 1 tsp. if using Himalayan Pink Salt
- 1 large egg
- 1/2 cup mashed potatoes Leftover & chilled overnight
- 3-5 cup bread flour or All purpose flour
Instructions
- In a big bowl or stand mixer, add yeast*, sugar, warm water, oil and egg. Mix to incorporate. Add mash, salt and flour. Start with less flour (about 3 cups to begin) as the temperature of your house will affect the dough. Knead in a stand mixer for 5 min or by hand for 10, adding flour as needed, until you have a homogenous, supple dough ball.*See note below for difference between Instant yeast and Active dry yeast
- Grease a big glass bowl with neutral oil and plop the dough ball in. Make sure the dough is totally coated in the oil. Cover with plastic wrap and/or a lint-free kitchen towel and let proof until doubled in size. Depending on the temperature in your house this could take up to two hours (the warmer your home, the quicker it will rise as the optimal temperature for yeast to thrive in your dough is about 80F. So for me, in South Florida, this step takes about 30 or 40 minutes)
- After it's doubled in volume, shape your loaf on a floured surface. Make sure it is the same size as your loaf pan.
- Score the top with a sharp knife or bread razor and cover again. Preheat your oven to 375F. Once the loaf has doubled, bake for 25 minutes. Cover with foil if the top gets too brown and bake another 15 min.
- To make sure your bread is done baking, give it a knock. It should sound hollow when tapped on when it's done. It should be a deep golden brown like bread you buy from the grocery store.
- Let cool overnight if possible. The steam trapped in the bread needs to be released slowly so the crumb texture can set up properly. If the steam escapes too quickly, the bread texture can come out doughy or squishy with an almost “wet” crumb even though the bread was cooked through. This is comparable to not letting meat rest before you slice into it. All of the juices rush out and the meat isn't as tender and juicy as it would be if you had let it rest for a bit! Make sense?
- As tempting as it is to cut into a warm loaf of bread, keep this in mind! (I usually cut off the end piece after 20 min resting or so to satiate my warm-bread-eating-desires, but then I leave the rest to be sliced in the morning) Absolute minimum wait time to slice the whole loaf would be 1 hour in my humble opinion but you're the ruler of your kitchen so I give you the info and you do what you gotta do, boo!