Medieval Boule (An Old World-Style Round Loaf in your Cast Iron Skillet!)

Hi Kneaders!
You may have deduced from the name of this site that I love bread. This is true; you are very observant. I’m also half-Italian and half-Irish, which means I really love bread! But, even more than eating it, I enjoy making it and breadmaking does not have to be difficult and pretentious. As a matter of fact, for our ancestors, it was anything but that. It was a necessary part of bulking up your meals while using up grain they had worked so hard to grow. Bread was made in all manner of ways including right in their heavy-bottomed pots over the fire (usually made of cast iron).
They would mix minimal ingredients such as flour, salt, water and yeast (or something that contained wild yeast like potato water,) into a ball and plop that right into their pots. No shaping, no fussing…just warm, hearty, soul-hugging bread to be broken into hunks and dunked into soups and stews.
Funny enough, the church I went to growing up used this type of bread for the Eucharist part of service. My local grocery store sold loaves very similar and my Grandma would buy them occasionally. It always brought me deep nostalgia (and still does) to munch on these! But, man, making it yourself is just something else – otherworldly, really. Bread is so magical like that; you just mix together a minimal amount of staple ingredients and fresh bread is the result! Pretty magical to me.

As a kid, I loved how each piece gets bigger and longer as you continue to slice through its rotund shape. It really is different than normal sandwich bread while still feeling very familiar and homey. It will transport you to a different time – a time when the priority was sustenance and survival – not aesthetics. If you make these, you’ll see there really is beauty in the care-free spirit of these imperfect loaves.
I developed this recipe over six years ago with these special memories in mind and it’s about time I share it with you guys!
This is my version of an old-world-style round loaf. I promise you won’t help but smile while you eat this hearty, rustic loaf.
What is a Boule?
Boule just means “ball” in French, which is precisely the shape that this very humble loaf takes! I’ve also seen similar rustic homemade loaves referred to as Mountain Bread.
How do I make a Medieval Boule (Old World Rustic Loaf)?
This humble and rustic round loaf is sure to transport you back to olden times when hunks of bread were ripped with your bare hands and dunked into hearty belly-filling stews. I, for one, am all about being transported by the food I eat. This loaf is easy and unpretentious, just a humble but flavorful loaf you can whip up and be proud to share!

First things first, we want to get a large shallow glass bowl (preferably warm – see Notes!) and add in lukewarm water, instant yeast, liquid sweetener of choice, milk powder, neutral oil and salt.
As far as the liquid sweetener, I find that it dissolves better in this dough and helps the crust get a little more chewy. You can really use any liquid sweetener you like and I really use everything! I’ve used agave, honey, apple sugar syrup, cassava sugar syrup, maple syrup….it ALL works! It’s really just going to balance the flavors and make the final loaf SCRUMPTIOUS and stomach-hugging.
As far as the milk powder, I do think this is a crucial ingredient and it’s found in a lot of white loaves. It just gives the bread a little depth in flavor and also helps the texture of the bread. BUT, fear not, if you don’t have it or don’t want to use it – just omit it and the loaf will still turn out yummy! Pinky promise…
After we have the first ingredients in our glass bowl, we’ll add in the flour and begin to mix it using the handle end of a wooden spoon, until just combined. The wooden handle acts as a makeshift dough hook and helps to homogenize the ingredients in a similar fashion. This is one of my all-time favorite kitchen hacks for breadmaking by hand. No mixer needed.

Even if you do have a stand mixer, I highly recommend you make this loaf by hand. It’s very forgiving and it doesn’t take much effort. Something magical happens when we create things with our own two hands. It’s incredibly therapeutic!

Once the dough starts to come together, dump it onto a floured surface and gently knead a few times while creating a rough round shape. If your bowl is nice and big like the one I’m using, you can do it right in the bowl as shown.


After kneading a few times in the bowl (on your counter top), and bringing the dough to a rough round shape, we want to take the dough ball out of the glass bowl – shape it a little more with our hands or against the counter top – and then get the bowl ready for the next step.

We want to add neutral oil (like vegetable oil) to the same glass bowl that we just used and add the dough ball back in. Make sure to cover the whole dough ball with a nice coating of the oil. So, don’t be shy and get all sides! This helps keep the outside of your dough hydrated as it rises otherwise a layer of “crust” will form over the top! Nope nope nope, we do not want that. Listen to me and stay crust free! I apologize for the Dad joke. Moving on…


See the coating on that bad boy? Yeah, that’s what we want…GLISTENING!
Now, we need to let this little guy rest for a bit. Cover with plastic wrap and/or a lint-free towel (I like to use both). Allow to rest for approx. 20 min.


After resting, remove the cover and use the same handle-end of your wooden spoon to pull, de-gas and stretch the dough. You’ll do this by sticking your handle-end right into the center of the dough and twisting. This releases excess gas (air build-up from the yeast) and makes it easier to work with the dough for shaping in the next step!


After you’ve released the gases, plop your dough ball into your cast iron skillet that’s been greased and floured. I like to dust the pan and the top of my loaf with Brown Rice Flour before baking for that bakery-style finish. However, you can also use regular all purpose flour and even cornmeal instead!
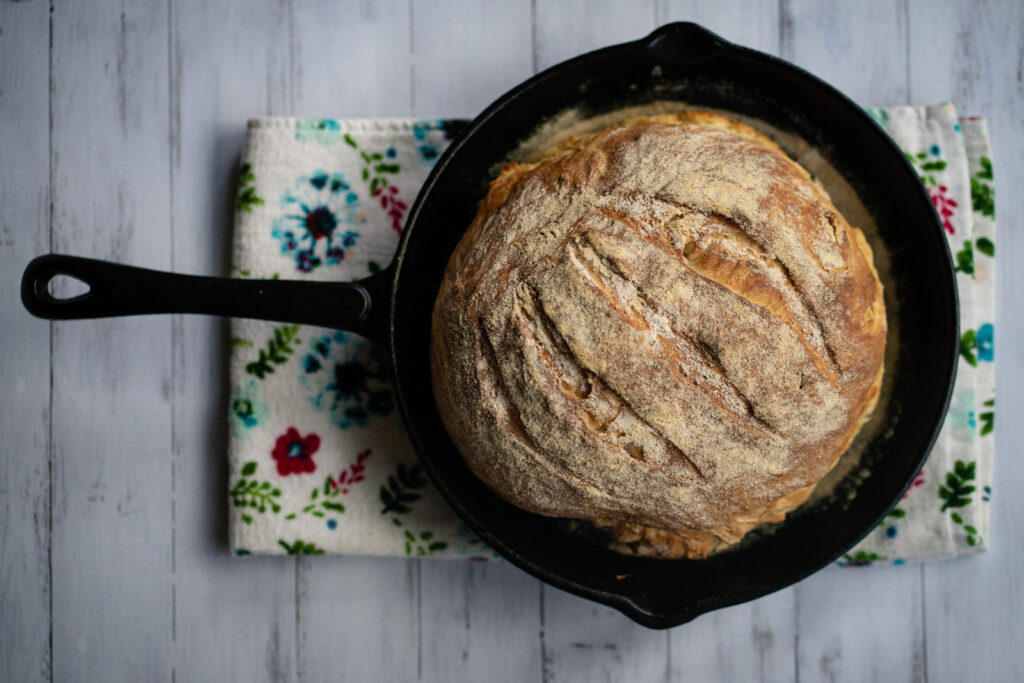
Once we’ve plopped it into our cast iron skillet, we’re going to score (slice) the top. This will help it bake up beautifully. You can achieve this with a very sharp knife, a razor or what I’m using – a Bread Lame. A bread lame is made for this precise purpose. A few diagonal scores across works the best but you do you, boo.


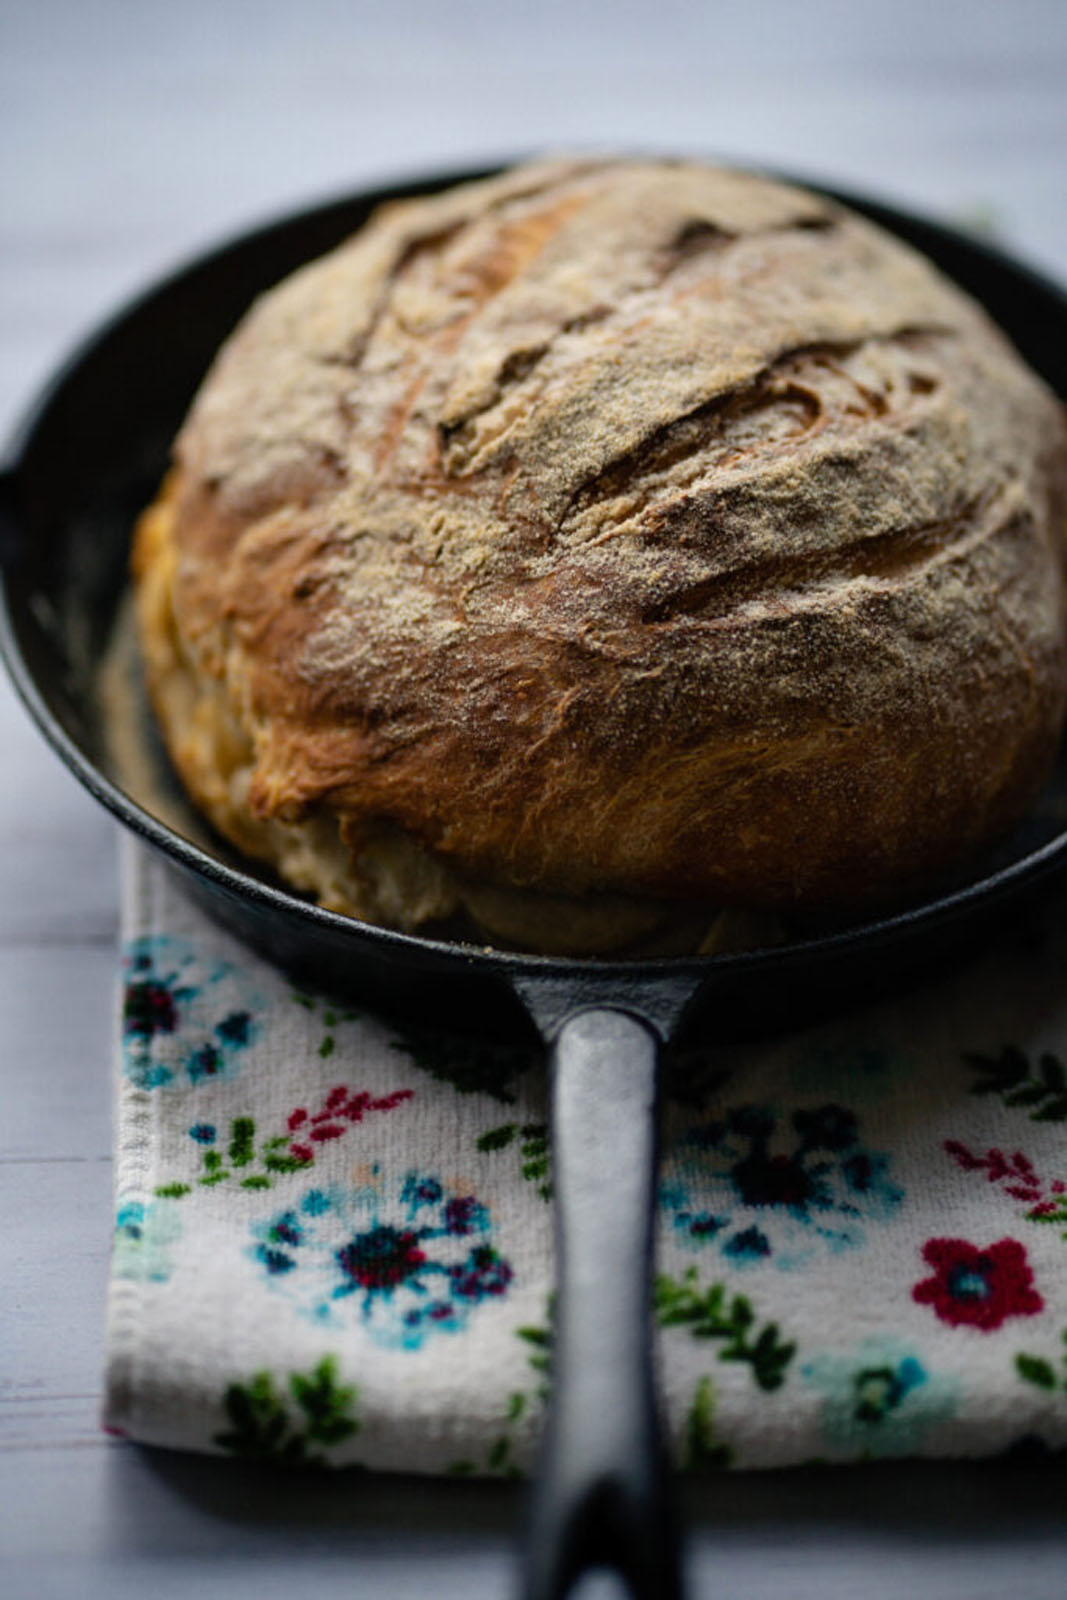
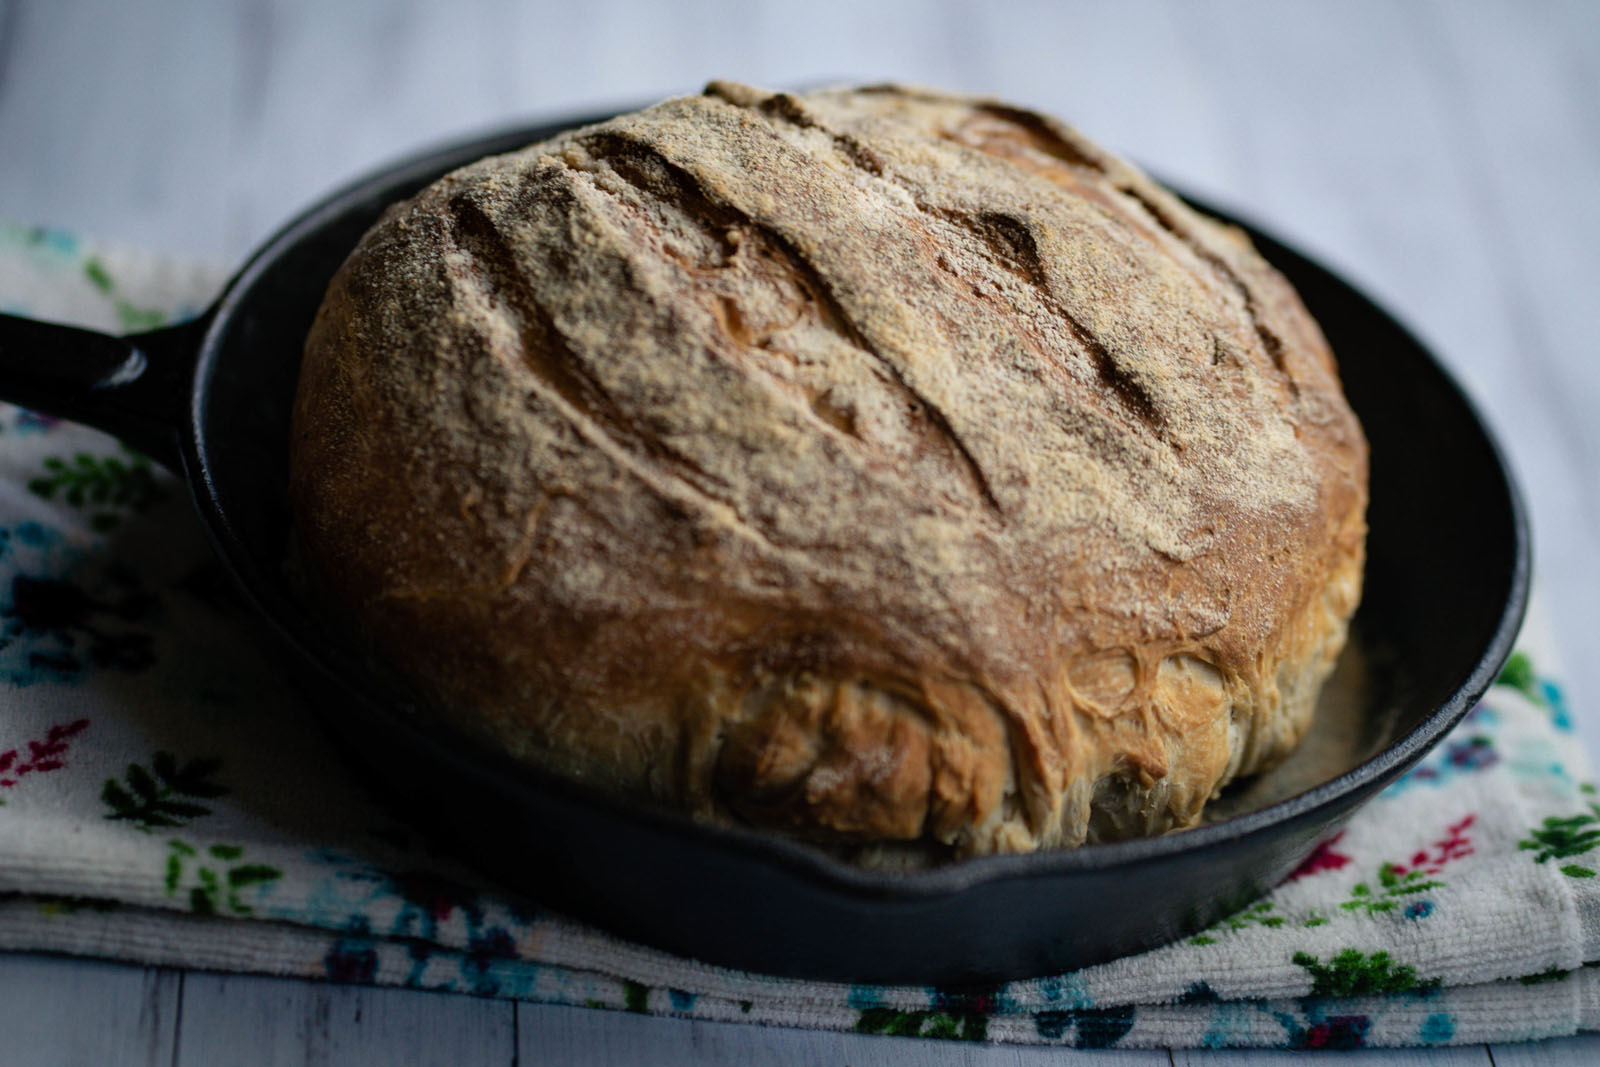
See how shaggy and imperfect it is? It’s rustic and beautiful yet unassuming. You’ll want to make this along side every soup and stew dish this winter season. Just a humble loaf ready for you to embrace! Easy to make and no sacrifice on flavor! The crisp golden artisan-style crust and fluffy soft interior is the perfect addition to your next homecooked meal.
Let this rest for about 10-15 minutes until the oven is preheated to 400F or ~200C. Bake for 40 to 50 minutes. It takes a bit of time to bake but it’s so worth the wait. You’ll know your Medieval Boule is done when it’s golden brown on all sides and sounds hollow when tapped on! This is one of the best tricks when it comes to checking done-ness of your bread and I do it every single time. If it sounds hollow when you knock, it’s ready.

It’s a stunning but rudimentary loaf and it does not need to be anything else!
You do want to let this cool for about 15 min or as long as you can stand it! If you let it cool completely, you’ll have the BEST end result but I know that’s like… really hard. Plan ahead and make this before you get dinner started and by the time it’s done, it’ll be cooled to perfection!
I really hope you try this! It is truly so simple to make bread yourself right at home. Using basic ingredients and a little bit of elbow grease, you can make this beautiful loaf – and it isn’t even intimidating.
How do I store my Medieval Boule?
I like to slice it up completely ahead of time and then store it in wax paper or foil, place into a freezer bag and into the freezer. When you need a slice of bread, you can pull it right out and leave it on the counter to thaw out in a few short minutes! Alternately, you can toast it straight from frozen and it works beautifully.
You can also store this in beeswax wrap! It works great.
If you’re going to consume it within 48 hours, you can also keep it right in your fridge, storing it in a freezer bag to prevent excess moisture from accumulating or keep it covered right on your counter top.


Cast Iron Medieval Boule (Rustic Round Loaf)
Ingredients
- 4-6 cups Bread flour or All Purpose flour
- 1 tbsp Vegetable oil or Coconut oil
- 1 tbsp Liquid sweetener of choice I used Honey
- 1 tbsp Milk powder
- 1 1/2 tsp Instant yeast
- 2 cups Filtered water, lukewarm approx. 110F
- 1 1/2 tsp Kosher salt reduce to 1 tsp if using Pink salt
Instructions
- In a large shallow glass bowl, add lukewarm water, instant yeast, liquid sweetener, milk powder, neutral oil and salt. *
- Add in your flour and begin to mix using the handle end of a wooden spoon, until just combined, The wooden handle acts as a makeshift dough hook and helps to homogenize the ingredients in a similar fashion.
- Once the dough starts to come together, dump onto a floured surface and gently knead a few times while creating a rough round shape. If your bowl is nice and big like mine, you can do it right in the bowl as shown.
- Add oil to the same glass bowl you first used and add the dough ball back in. You'll want to make sure to cover the whole thing with a nice coating of the oil.
- Cover with plastic wrap and/or a lint-free towel (I like to use both). Allow to rest for approx. 20 min.
- After resting, remove the cover and use the same handle-end of your wooden spoon to pull, de-gas and stretch the dough. You'll do this by sticking your handle-end right into the center of the dough and twisting. This releases excess gases and makes it easier to work with the dough for shaping in the next step!
- Dump your dough ball into a greased and floured cast iron skillet. I like to use Brown Rice Flour for that bakery-style finish but you can also use regular flour or even cornmeal!Next, you'll want to score your dough diagonally with a sharp knife or bread razor.
- Let your dough ball rest in the cast iron skillet for about 10 min (or until your oven has pre-heated). Preheat your oven to 400F and bake for approx 40-50 min. You'll know your Medieval Loaf is done when the top is nicely browned and it sounds hollow when tapped on.
- Let your beautiful and rustic loaf cool for about 15 min (or as long as you can stand it!)For optimal results: Allow your loaf to cool completely before slicing, as it helps the steam escape slowly instead of all at once. This method helps develop the structure of the gluten, which produces the best possible final crumb (texture).
