Make Your Own Sourdough Starter!
The term “Sourdough Starter” is both unfamiliar and intimidating for a lot of people. Most people know vaguely that there is a bread called Sourdough but not exactly how it’s different from other types of bread.
An entire Bible can be written about the rules, theories, techniques & methods of sourdough making. But, we’re going to start small. We’re going to take baby steps into the world of Sourdough so it’s easily digestible (pun intended). I will teach you what sourdough bread is, what a sourdough starter is and how to use the discard that comes from maintaining it! All of this knowledge is the foundation for making your own beautiful sourdough bread at home as well as the many fun recipes that can be made with your sourdough discard! Think cookies, muffins, crackers, pancakes & more!
Let’s get to it!
What is Sourdough?
I suppose we should begin with defining what Sourdough actually is.
Sourdough is a specific kind of bread or baked good that is made with a sourdough “starter”, which is a mixture of flour and water that has been left to ferment. The fermentation happens due to the presence of wild yeast in the flour and also the air around us. This process plus time is how you get sourdough. This natural fermentation process creates a base that can be used in breads and other baked goods like muffins, cookies and pancakes. The process of fermentation enriches the starter with a unique tangy flavor that is imparted into the final loaf or treat.
Essentially, there are two categories of yeast: commercial yeast and natural/wild yeast. Most store-bought bread uses commercial yeast and yeast is so important because it’s what helps the bread to rise, create structure, a beautiful crust and hold its final shape.
Sourdough bread differs from, say, a typical white loaf because it uses a “starter. The starter undergoes a natural fermentation process without any added yeast. The starter is made when water and flour are mixed together and left at room temperature to ferment. The wild yeast present in the flour – and in the environment all around us – are trapped in a jar with food (flour) and water. Then, the yeast eats, and the gas it produces creates air bubbles in the starter. These air bubbles will give the dough its rise. Beautiful air pockets will form in the dough while baked and the result is that tender, chewy and tangy sourdough bread we all know and love.
This starter process is essential for making sourdough bread. But here’s the cool part: sourdough starters can be used to make all sorts of other amazing things—think sourdough pizza crust, sourdough cornbread, sourdough pie crust, sourdough brownies and cookies, sourdough muffins… you name it. The possibilities are endless!
Not only does a starter impart amazing and unique flavor – it’s also good for your gut! Studies show that fermented foods may be easier for our bodies to digest and can help support the natural gut biome. The natural fermentation process means the bread doesn’t require any preservatives to stay fresh for longer. This also creates that classic chewy crust and tangy interior that we recognize as sourdough.
Aside from the natural benefits found in sourdough, it’s worth noting that most store-bought breads have added sugars, seed oils, preservatives, and other things like dough conditioners. Sourdough doesn’t have or need any of these additives!
Here’s the equation: Flour + water + time (natural fermentation) = sourdough starter. It’s as simple as it gets!
So, now that we have a basic idea of what sourdough is (and isn’t) , let’s review how to make it and store it.
How Do I Make Sourdough Starter?
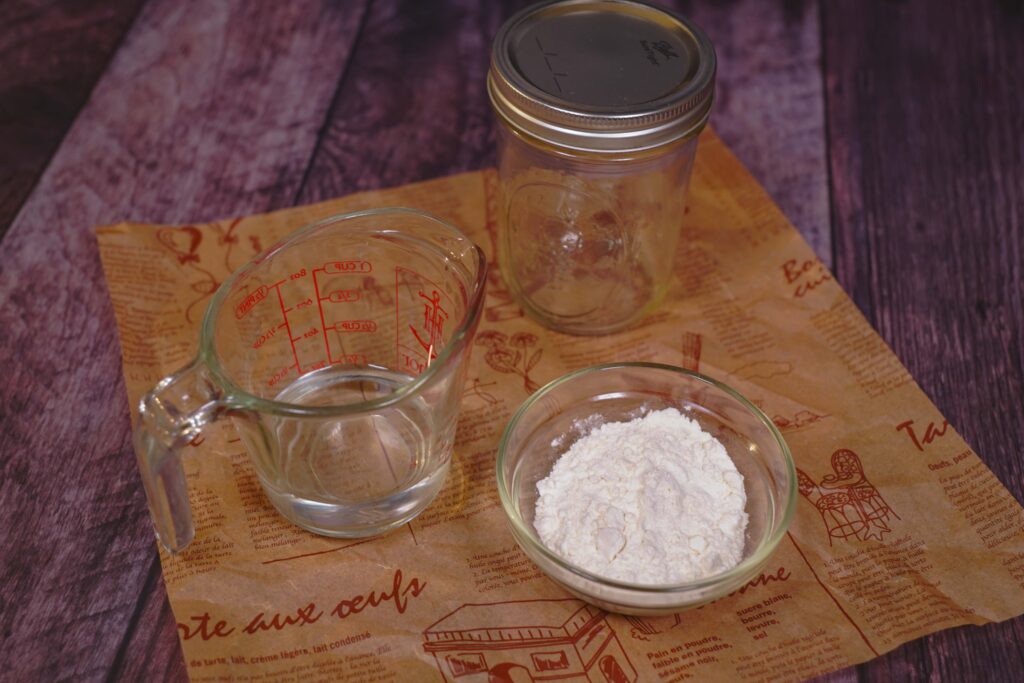
The sourdough starter is composed of only two ingredients – flour and water. This is all you need to create the perfect starter at home.
Like many things, the quality of ingredients matters. After all, yeast is a living organism and requires food & water just like us to stay alive. I say when it comes to your starter, don’t skimp…use purified water and organic flour when possible. These two simple ingredients will keep your yeast happy and we need happy yeast if we want fluffy, crusty bread.
There are many different rules for water to flour ratios when it comes to sourdough but we are keeping things simple and non-intimidating here. So, we’re going super basic with a 100% hydration starter. 100% hydration just means that there is equal parts of water and flour. 1 cup of flour calls for 1 cup of water. Easy peasy. Simply mix your water and flour together in a wide-mouth jar until smooth. Lightly screw on your jar lid but not completely. The lid should be affixed but still loose so the gas bubbles can escape.
I store my starter in the fridge and I try to feed it once a day. Heavy emphasis on the “try”. If you aren’t doing a lot of baking, you can get away with feeding it only when you need it. I do this often. I get into ruts where I haven’t baked in a while so my starter has been neglected, unfed, in the back of the fridge.
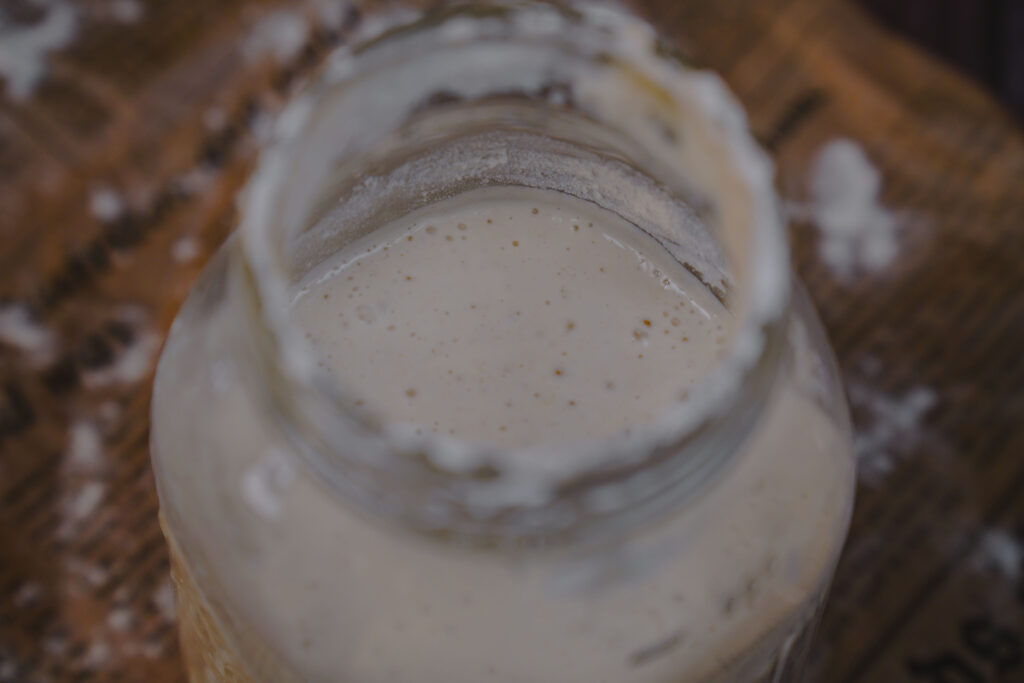
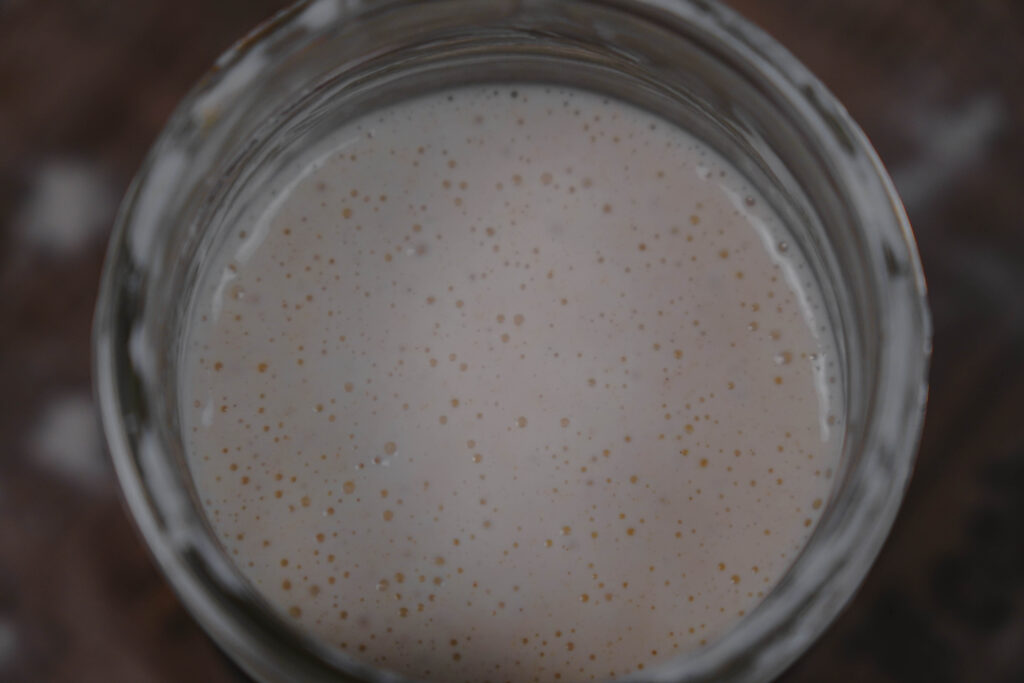
As soon as I’m feeling like baking something up, I take the jar out of the fridge and pour off any liquid that has accumulated on top. Then, I allow the starter to warm up a little at room temperature on the counter. Stir in fresh flour and water and set aside for a few minutes. You will see bubbles forming. Now it’s ready to use!
If you are going to be baking bread every day (or every few days) and want to keep your starter at room temperature (on your kitchen counter), you will need to feed it at least once a day. The feeding depends a lot on how hot your climate and environment are. The hotter your environment is, the hotter your starter is and the more frequently it will need to be fed. A lot of beginners don’t know this and if they live in a warm climate or have a warm kitchen, the starter is more likely to become overgrown and overflow out of the jar. Now there’s a mess to clean up and bunch of starter has been wasted. Not my style! So, unless you are committed to feeding it daily, I would recommend keeping it in the refrigerator instead.
However, if you live in a cooler climate and/or your kitchen is drafty, you may be able to get away with feeding your starter just once a day at room temp. But, again, you’ll have to be committed to baking multiple times per week. If you aren’t regularly baking, you’ll be wasting your discard. Even when I’m baking most frequently, I find it easier to keep my starter in the fridge at all times so it’s never growing out of control.
What Kind Of Flour Do I Use?
As far as flour goes, I stick with regular all-purpose flour. But, the flour you use in your starter can be pretty flexible. I’ve used bread flour before – a more professional flour with higher protein content used specifically for breadmaking. And, I’ve also used Italian 00 flour, which is a specialized flour used primarily for making pizza crust.
You may also use other specialized flours like whole wheat or einkorn in your starter. It’s up to you. But, keep in mind, there will be slight variations in the flavor profile, which will affect your final product. So, for beginners purposes, I would recommend not venturing out with the flour and stick to all-purpose. Organic is always best if you can.
DO NOT USE: Cake flour or Self-Rising flour for your starters as these have additives like salt and baking powder!
Once your starter has been mixed, it will need to be stored and fed for at least 3 days before using to bake. The wild yeast needs time to grow and develop flavor.
After a few days in the fridge (or on the counter) with regular feedings, your starter is ready! It will grow significantly during this time. Some people like to place a rubber band or a hair tie around the jar on day 1 to mark the “starting point” so they can see how much the starter has grown. A lot of bakers also name their starters. There’s some really funny ones out there like Keanu Kneads or Clint Yeastwood. Mine is named B.O.B – Bundles O’ Bread. He’s Irish and he’s almost 10 years old!
This 100% hydration starter can be used to make any type of bread, not just plain white bread! Options include whole wheat, honey oat, multi-grain, pumpernickel and rye. I have made all of the above with great success.
How To Store My Sourdough Starter?
I believe the best way to store your sourdough starter is in a wide-mouthed mason jar. Some people use bowls or other containers so use what you have. But, I think the wide opening on the mason jar makes it so much easier to mix in your water and flour when it’s time to feed. The lid should be reattached but remain slightly loose so there is air flow.
There are many different ways to store your starter but I’ve found keeping it in the fridge is one of my favorite methods. It’s also the easiest method. Starters are affected by their environment so in a warm kitchen, the starter will begin to bubble over and require regular feedings. In the fridge, however, the eating process is slowed down so there is not as much activity happening. This means you are way less likely to have overflow and waste.
You can also dehydrate your starter so there’s no liquid at all and then re-activate it when you’re ready to bake but I consider this to be quite complicated for beginners so we are sticking with the easiest tried and true method.
What Is Sourdough Discard?
Sourdough discard sounds fancy and complicated but it refers to the portion of starter that needs to be removed before adding more water and flour. Because yeast is a living organism, the more you feed it, the more it grows. In a nutshell, the more you feed your starter, the more you need to use it to prevent it from overgrowing.
Since starter is made up of only water, flour and wild yeast – it is perfect to use for baked goods. So, when you need to feed your starter, it’s a great idea to save what you removed (the discard) and use it to make something else delicious. Some of my favorites are pancakes, crackers, cornbread, biscuits, pie crust, pizza crust, cookies, muffins, the list goes on and on…
How Do I Use My Sourdough Discard?
It’s important to understand that nothing is wrong with your “discard”. Discarding is a very important part of maintaining your starter. Since your discard is just flour, water and wild yeast – it’s a great tool for baking many things.
Not only does it impart wonderful flavor and help with digestion but it can be used to make all of your favorite treats. Everything from pizza crust, pie crust, crackers, biscuits, pancakes, waffles, cookies, muffins & more.
So, how do you use your discard? However you like! What are you craving today?!
What If My Starter Has Weird Liquid?
When a starter hasn’t been fed (fresh water and flour added), it will produce a liquid on top. Scientifically, this liquid is called “Hooch”. Hooch is essentially an alcohol byproduct. Once your yeast consumes all of its food (flour), it will begin to create alcohol. This is completely normal and is a natural sign that your starter is hungry and needs to be fed.
Like most things involving sourdough, everyone has their own methods, techniques and theories. In my kitchen, I keep my starter in the fridge. When liquid pools at the top, I dump out that liquid and I feed my starter with fresh flour and water once it comes to room temperature. Even if I have gone weeks or literal months without feeding it (this absolutely happens!), I just dump the liquid, leave it out at room temperature and then feed it. Boom, it’s like new and ready to use.
It’s important to note that some bakers do NOT pour out that accumulated liquid – they stir it back in. To me, that doesn’t really make sense. I’m no scientist but my understanding is that at a molecular level, wild yeast are feeding on the flour, producing gas (carbon dioxide) and in turn creating waste (hooch). So, personally, I don’t want that alcoholic waste in my starter. But, that’s just me. Other bakers much more experienced than me, disagree. Keep that in mind and make your own decision.
All liquid is NOT created equal when it comes to sourdough starters. Here is an important guide to follow:
- Clear or Grey-ish liquid – Totally normal and means your starter is hungry
- Dark Brown, Grey or Black liquid – Also normal and means starter hasn’t been fed for extended period
- Pink, Red or Orange-ish liquid – Cause for concern. This may indicate that harmful bacteria is present. Throw away and start over
Now that we’ve gone over all of the basics, we can get to baking! This might seem like a lot of information but it’s the necessary foundation to enter the beautiful world of Sourdough. I can’t wait to see your first loaf!
Get your started going today and within a week of regular feedings, your starter will be ready! Come back to AKFB for a full guide on making Sourdough Bread and other treats!