
Sourdough Pie Crust (Using Discard!)
I can’t quite think of another dessert that is so ubiquitous at holidays, potlucks and basically any sort of gathering than pie. Pie in all forms. It’s always there and we all have a version we like the most. Apple, pumpkin, pecan, chocolate, coconut cream…so many good ones! I think as important as the pie filling is – the crust is equally important!
Since your sourdough starter is using the wild yeast present in the air and flour, every starter will taste different and unique. The tangy and rich flavor that develops in your starter is the perfect addition to your pie crust. The process of fermentation creates a distinct flavor that store-bought pie crusts could never replicate!
What Is Sourdough Discard?
When you are regularly feeding your starter, it’s important to remove some from the container to make room for new growth. This is a living organism and just like you and me, the bigger it gets, the more space it takes up. To keep your jars from overflowing, remove a portion of your starter. This is referred to as discard. This mixture is fermented flour and water so it is perfect to use in other recipes. Here, we will use it to make a delicious pie crust!
LEARN TO MAKE YOUR OWN SOURDOUGH STARTER HERE!
What Ingredients Do I Need?
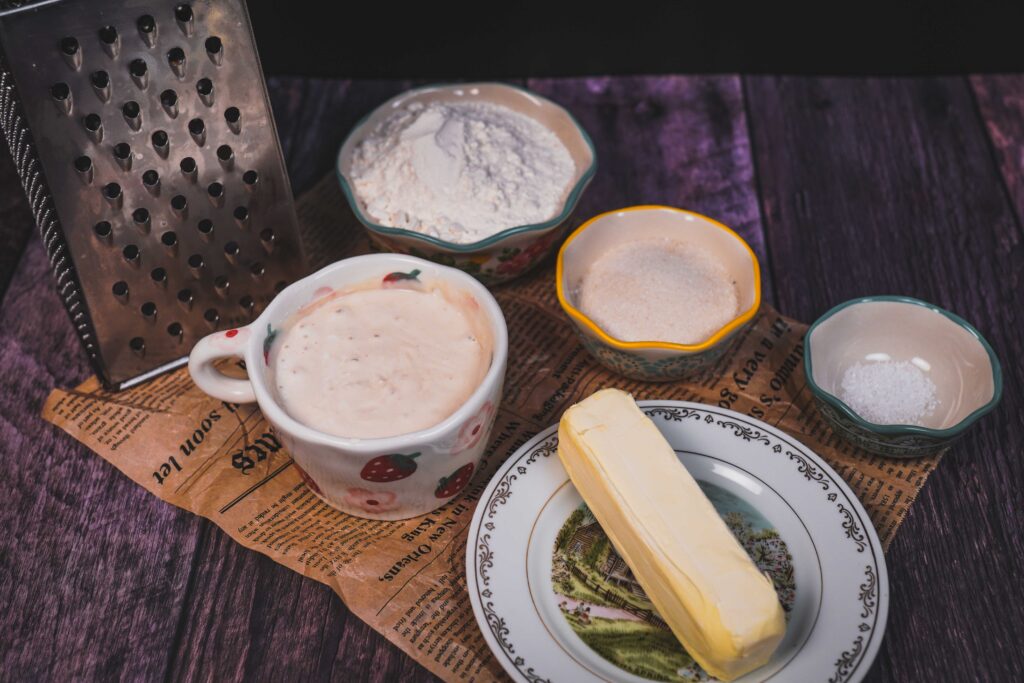
Pie crusts are very simple and require minimal ingredients – mostly pantry staples!
- All purpose flour
- Sugar
- Butter
- Salt
- Sourdough Starter
Tips For The BEST Pie Crust
One of the most important things when making pie crust at home is that everything needs to be cold. The warmer your ingredients, the harder it is to keep your crust together. It’s also incredibly difficult to roll out your crust when it’s warm and sticky. Warmth means the fats (butter, lard) in the dough start to melt. This makes everything more difficult!
KEEP ALL OF YOUR INGREDIENTS IN THE FREEZER
The process of making pie crust itself is very simple and quick. Whether you are using a food processor or mixing it by hand, it takes less than 5 minutes. 30-ish minutes before I need the crust, I will put my butter in the freezer. If I have room, I’ll put my bowl and rolling pin in the freezer too. Keeping all of the ingredients cold will make handling your crust much easier.
BY HAND METHOD
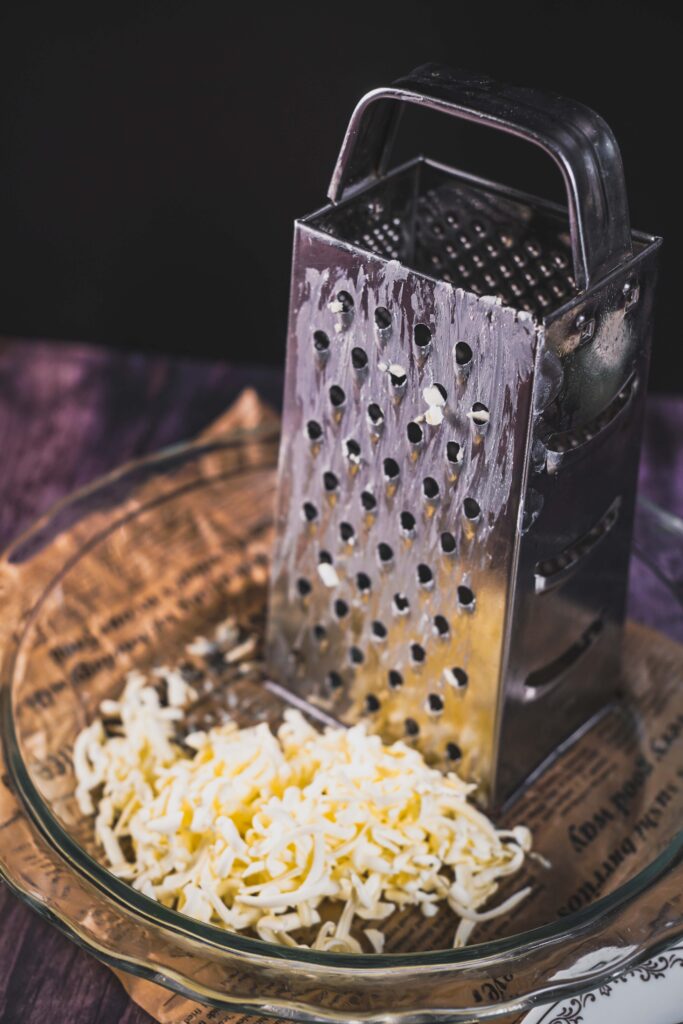
*For this method, leave your frozen stick of butter whole so it can be grated*
Using a cheese grater, grate your frozen butter. Work quickly so the ingredients don’t warm up too much.
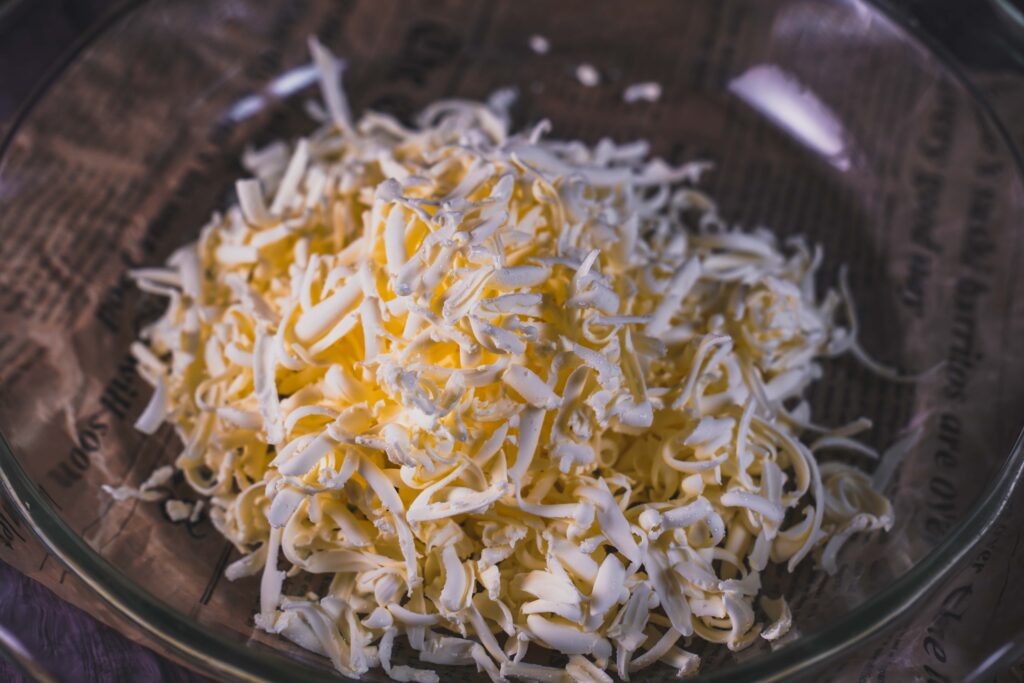
In a large bowl (preferably cold) mix together flour, sugar and salt. Add in your grated butter.
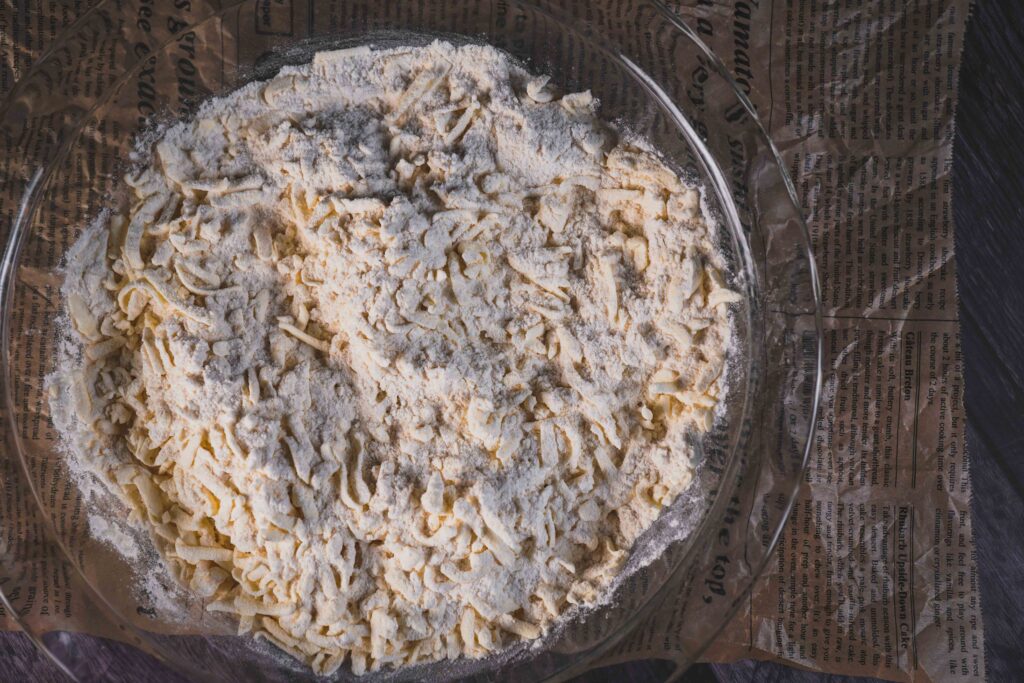
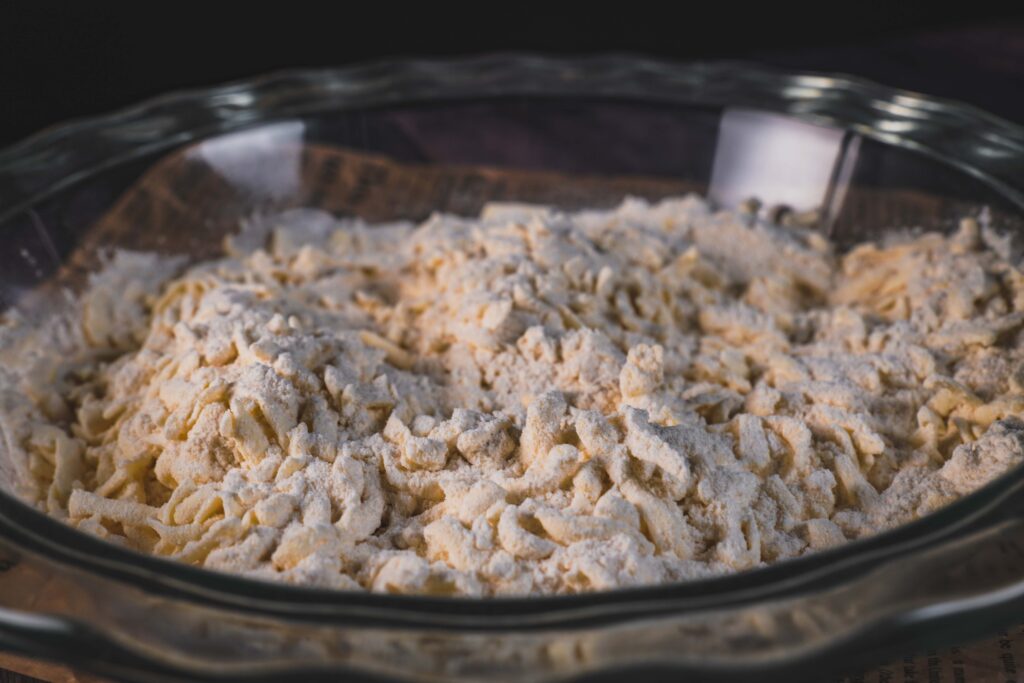
You can also cube the butter and use a fork to gently smush the butter into the flour. However, I find the grating to be much more efficient.
Lightly mix and slowly add the cold sourdough starter.
***INSERT SOURDOUGH STARTER ADDED TO REST OF INGREDIENTS HERE***
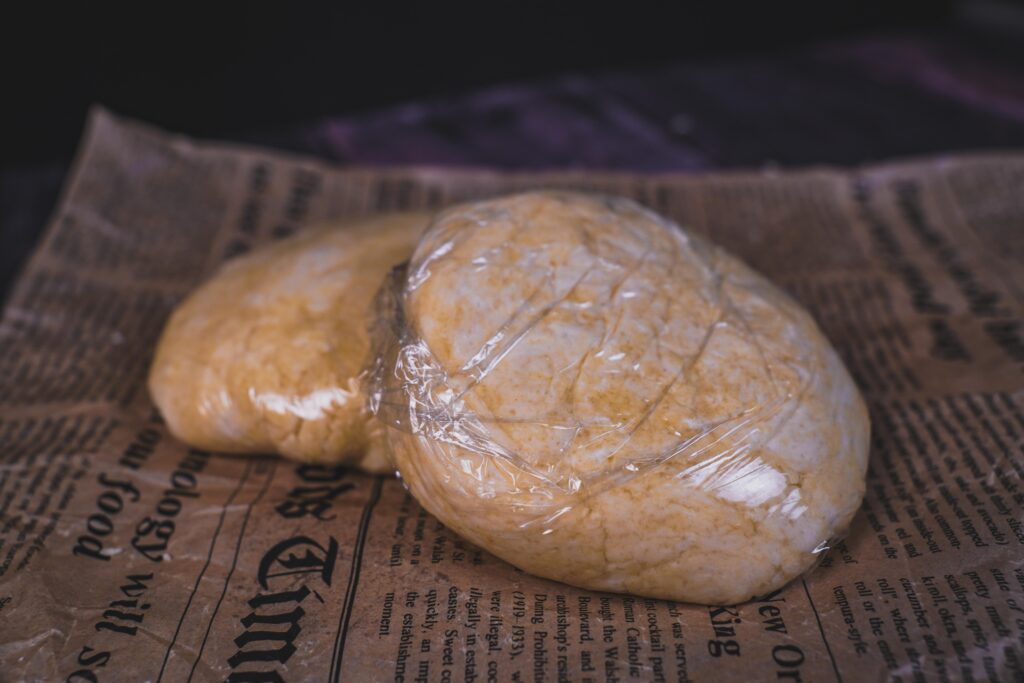
When a dough begins to form, dump onto a lightly floured surface and shape into a ball. Divide into two pieces. Roll each piece into a rough ball and cover in plastic wrap. Allow to rest in the fridge for at least 15 minutes. Preferable 30-60 min.
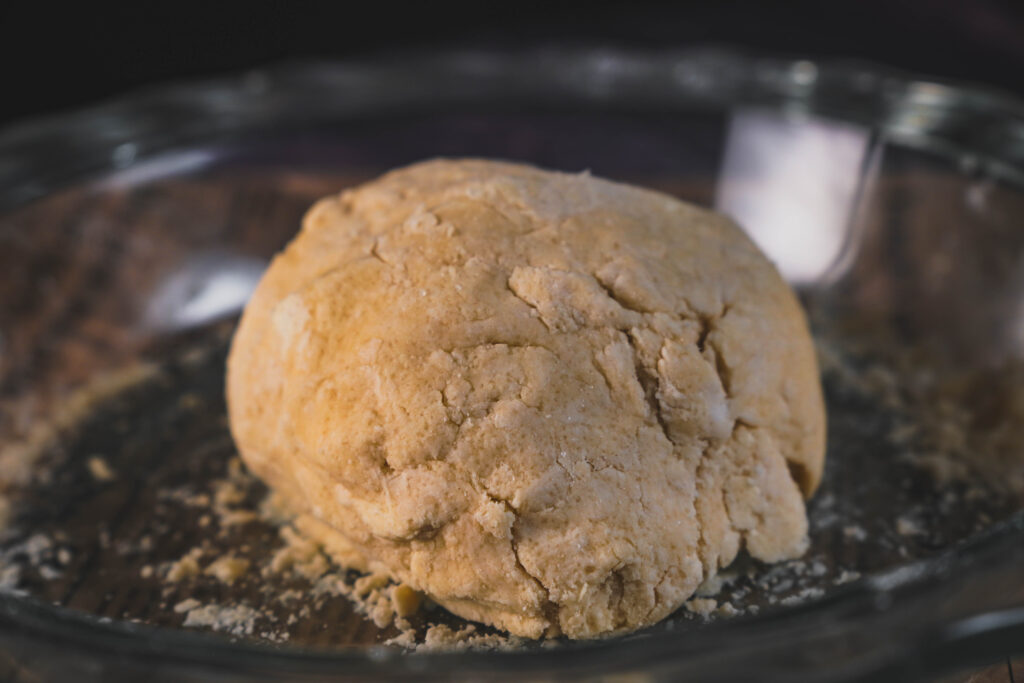
Each dough ball equals one crust. This is perfect for a pie that has both a bottom and top crust. I personally like to use it for a bottom crust so I freeze the second dough ball for later.
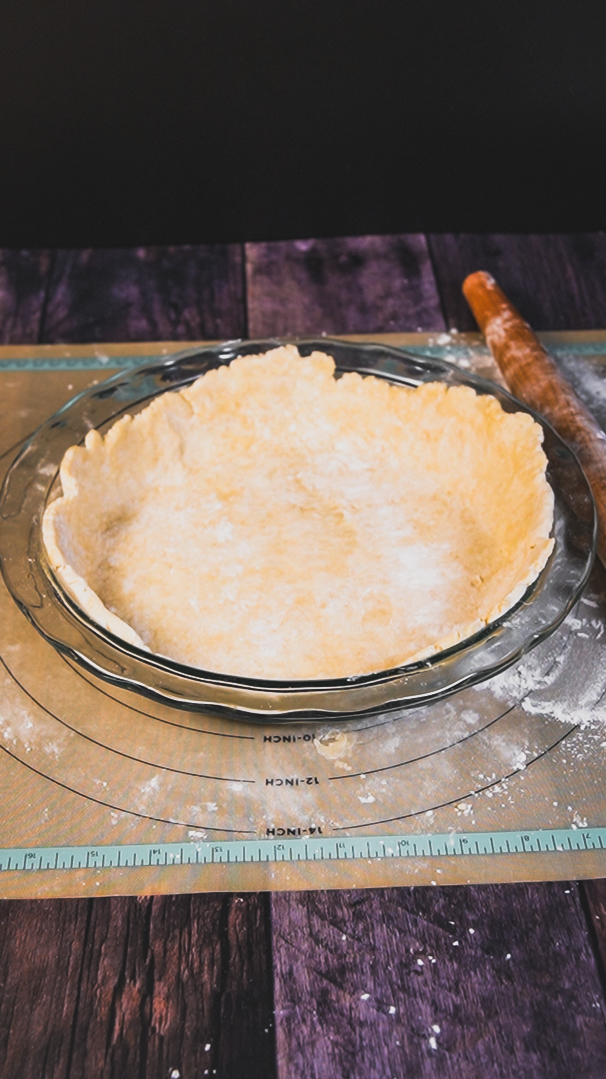
Once the dough is chilled, use your cold rolling pin to roll out your dough to the size of your pie pan – roughly 6-8″ diameter. Don’t roll too thin and keep in mind the dough will puff up a bit while baking. Place your dough into the pie plate, poke a few holes with a fork and par-bake for 5 minutes at 325F.
At this point you can use your pie crust right away or store in the freezer for later use.
This sourdough pie crust is the ultimate addition to elevate your pie game!
FOOD PROCESSOR METHOD
*For this method, cut your frozen butter into cubes*
Pulse flour, sugar and salt to combine. Add frozen butter cubes and pulse until the butter is the size of peas. Slowly add your cold sourdough starter and pulse until the dough comes together and holds its shape.
Dump onto a lightly floured surface and bring together into a cohesive ball. Divide into two pieces.
Shape each piece into a ball and cover individually with plastic wrap. Allow to rest in the fridge for at least 15 minutes. Preferrable 30-60 min. You can also freeze for later use.
What Kinds of Pies Can I Make?
The types of pies you can make with this crust are truly limitless. Some of my favorites:
- Old Fashioned Pie (brownie pudding pie)
- Cherry Pie
- Coconut Cream Pie
- Rustic Buttermilk Pie
- Apple Crumble Pie
- Chocolate Cream Pie
And the list goes on… If you prefer savory pies, I recommend the following:
*Note – If planning to do savory pies, reduce the sugar to 1 Tablespoon.
- Chicken Pot Pie
- Southern Tomato Pie
- Caramelized Onion & Gruyere Tart
- Spinach & Cheese Pie
- Mushroom & Leek Pie
- Breakfast Pie (Bacon/Sausage, Egg, Cheese, Potato)
Below, I will link my husband and I’s favorite pie, which came from my grandmother. Old Fashioned Pie is certain to be your new favorite. The pie filling is like a fudgy brownie and chocolate pudding had a baby. The buttery, flaky, slightly tangy sourdough crust is the perfect contrast to the rich filling. It’s a total crowd pleaser and incredibly easy to make!
Ingredients
- 1 1/2 cups All Purpose Flour plus 1 tablespoon
- 3 tablespoons Cane Sugar reduce to 1 tablespoon if making savory pie
- 1 teaspoon Kosher Salt omit if using salted butter
- 1 cup Butter unsalted, well chilled & cubed
- 1 cup Sourdough Starter well chilled
Instructions
- Add all purpose flour, sugar and salt to a food processor and pulse to combine
- Add the cubed, chilled butter and pulse until crumbs are the size of peas
- Add chilled sourdough starter and pulse until dough starts to form
- Remove onto a lightly floured surface. Divide into two pieces
- Gently shape each piece into a ball, careful not to add too much flour
- Wrap each ball individually in plastic wrap and chill for 1 hour before using