How to Make No-Yeast (Baked) Flatbread
Homemade flatbreads made easy by baking in the oven! No yeast, minimal ingredients & ready in less than 30 minutes!
Print
Pin
Servings: 6 Flatbreads
Ingredients
- 2 1/2 cups all purpose flour
- 1 tsp. kosher salt reduce to 1/2 tsp. if using Himalayan Pink Salt
- 3 tsp. baking powder
- 1 Tbsp. olive oil
- 1 c. filtered water lukewarm, about 110F
- 1/2 tsp. cane sugar coconut sugar works well too
- 1 Tbsp. butter or olive oil for brushing
- spices and/or herbs of choice optional
Instructions
- Preheat your oven to 400F or approximately 200C.
- Mix your dry ingredients together first (flour, baking powder, salt, spices and sugar).
- Then add your olive oil. You can also use a neutral oil like vegetable, sunflower or avocado if you want. But, I prefer the olive oil because it adds great flavor but it also adds fat to the dough, which helps with the texture!
- Next, slowly incorporate your lukewarm water until it starts to clump together.
- Dump out onto a floured surface - and with floured hands - gently knead until the ball comes together into a nice smooth ball. It should not be sticky at all but ever so slightly tacky. Sticky dough will actually get stuck to your fingers where tacky will feel a bit sticky to the touch but won't leave any residue on your hands. Think of it like the sticky-tacky we used in grade school - it was sticky enough to hold things up but it didn’t leave anything behind on your fingers. Hope that makes sense!
- At this point, let the ball rest for 5-10 minutes.
- After the dough ball has rested, divide it into pieces with a dough scraper or sharp knife. I like big flat breads so I divide into four pieces but feel free to divide into six for smaller flatbreads.
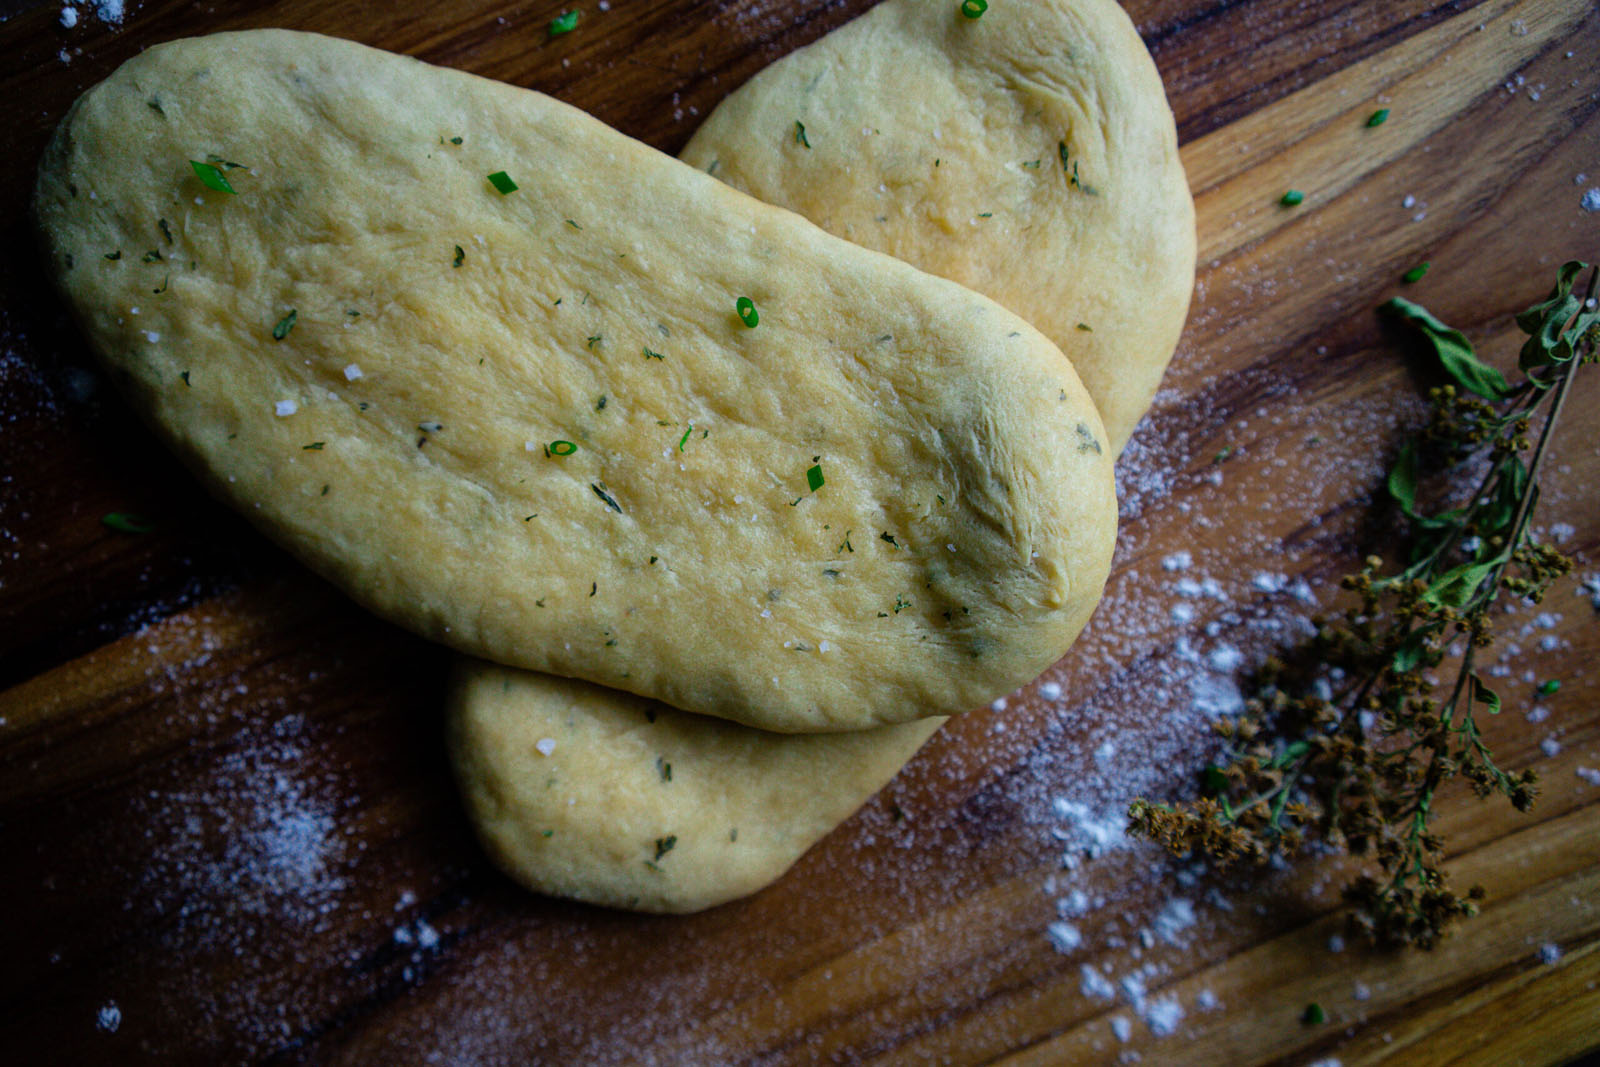
- Lightly flour each individual dough ball and roll out to a rustic oval shape - about ½ inch thickness. I make sure the middle is nice and even but I kinda leave the ends fat - as you can see in the photos.
- Lay them onto a greased baking tray with a good inch between. They will puff up a bit because of the baking powder but they won’t really spread out too much.
- Brush with olive oil or melted butter using a pastry brush.
- Bake for approximately 15 minutes (depending on the size) until the edges are golden and they've puffed up slightly. When they come out, I like to brush them with a little more melted butter or olive oil...for good measure!
- If you are not going to eat these straight from the oven - place them onto a plate and cover them with a damp paper towel. The steam will keep them soft and fluffy - while maintaining their chewy texture.
Notes
One thing I think is important to keep them from drying out is to take them right off the baking tray after baking and cover them with a damp towel/paper towel until ready to serve. The steam makes sure these stay fluffy and chewy until ready to eat!
These can be re-heated nicely in the microwave by wrapping them in a damp paper towel and heating for 15 second intervals until warmed.
If using Himalayan Pink Salt, reduce measurement by half. This is really a personal preference but I find that authentic Himalayan tastes "saltier" so I tend to reduce when using that kind.
You can add fresh/dried herbs and spices to make this recipe unique to your family's tastes! They are so versatile and easy to customize!
These can easily be made over the fire while camping to go alongside soup/stew and even eggs for breakfast.